Install notes
⚠️🔥💨 Fuel leak & flooded engine
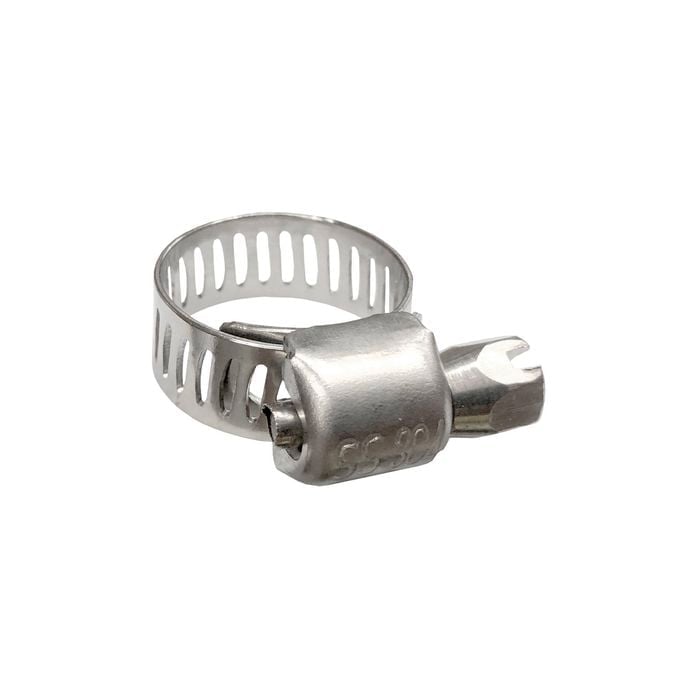
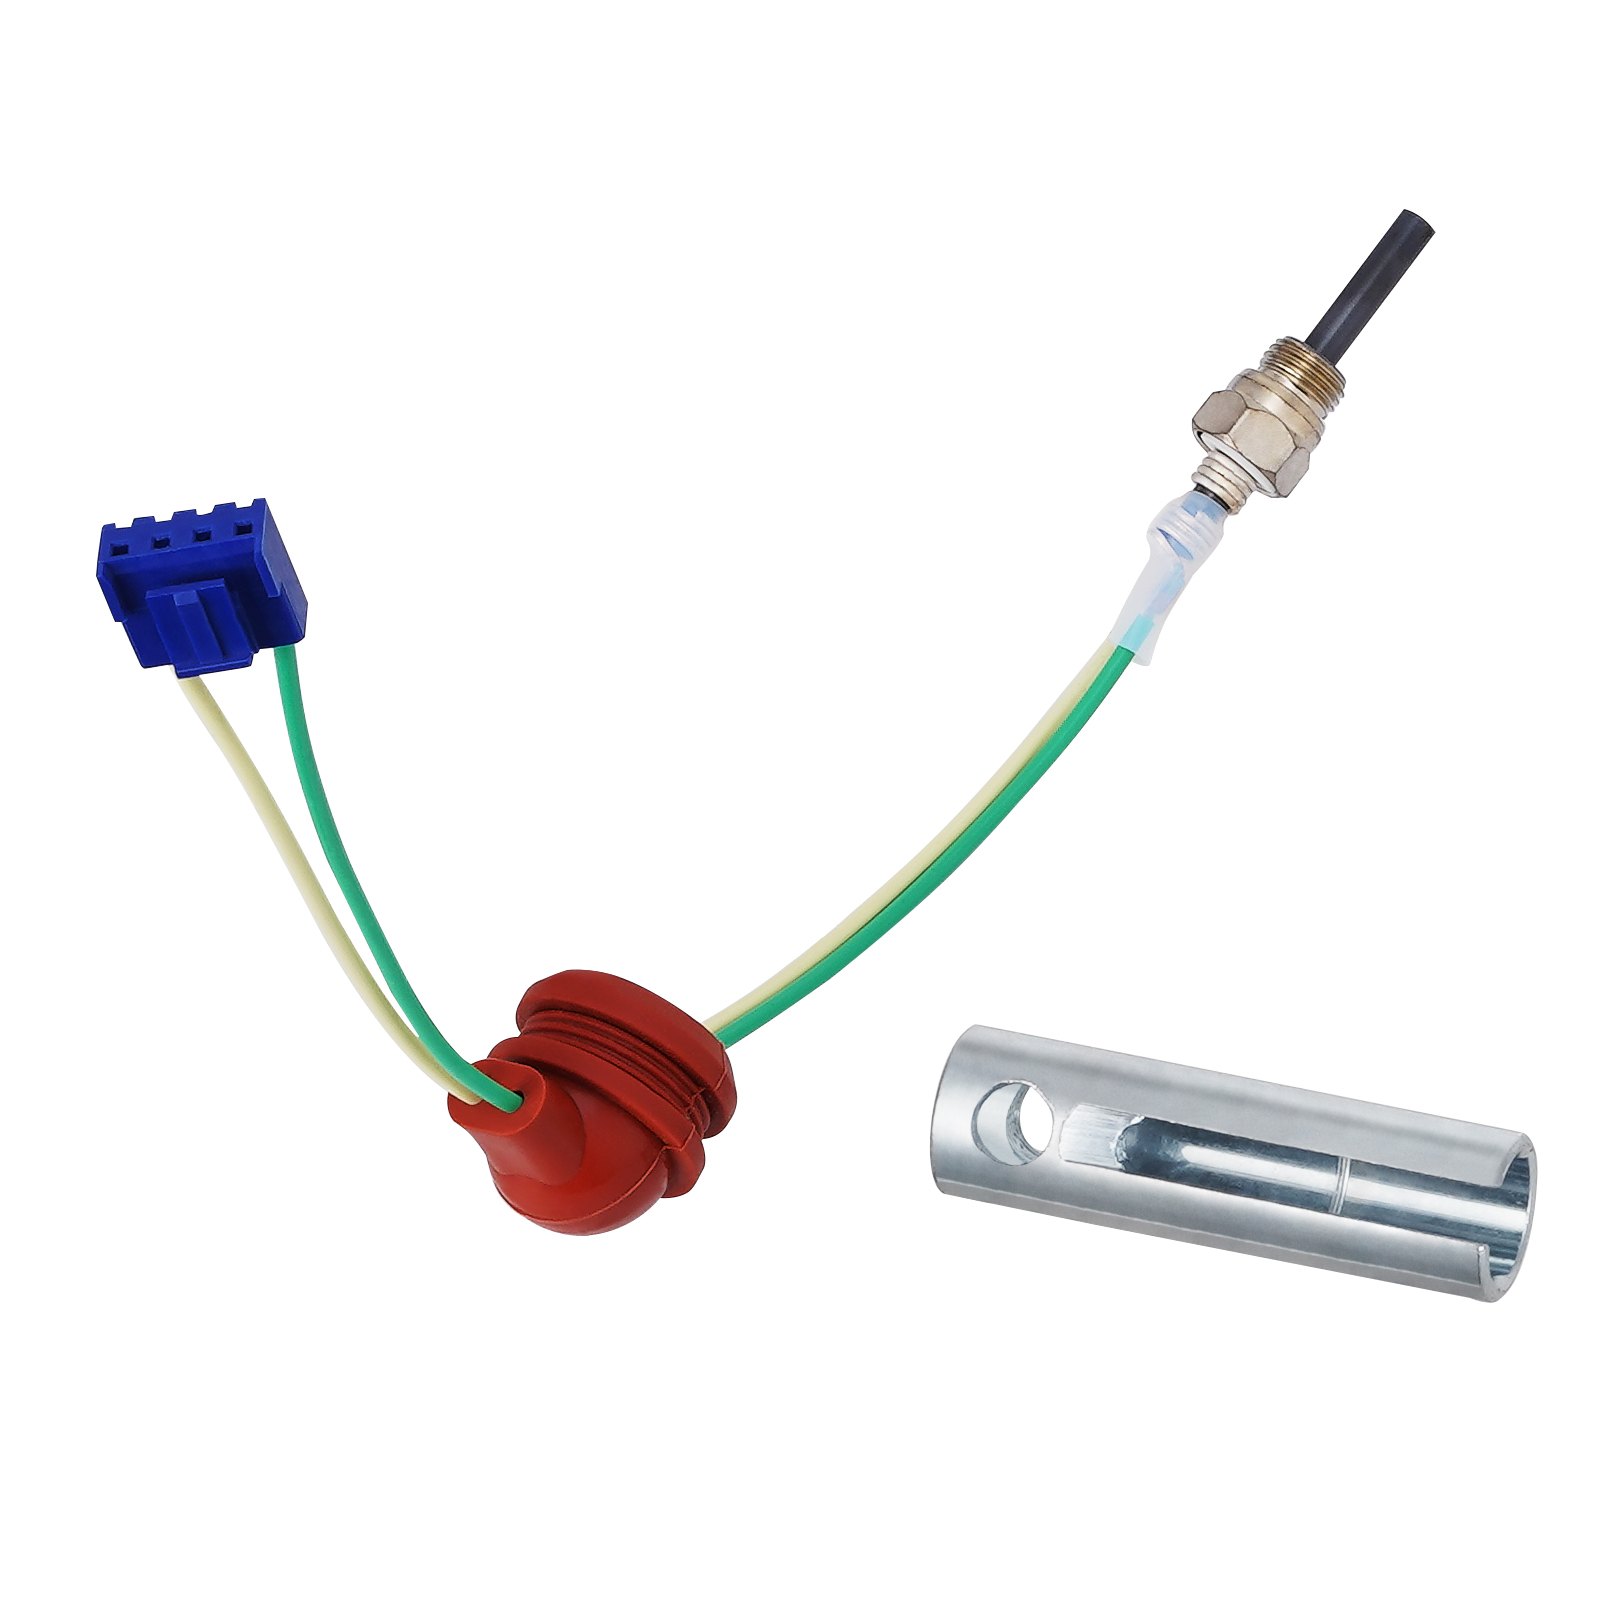
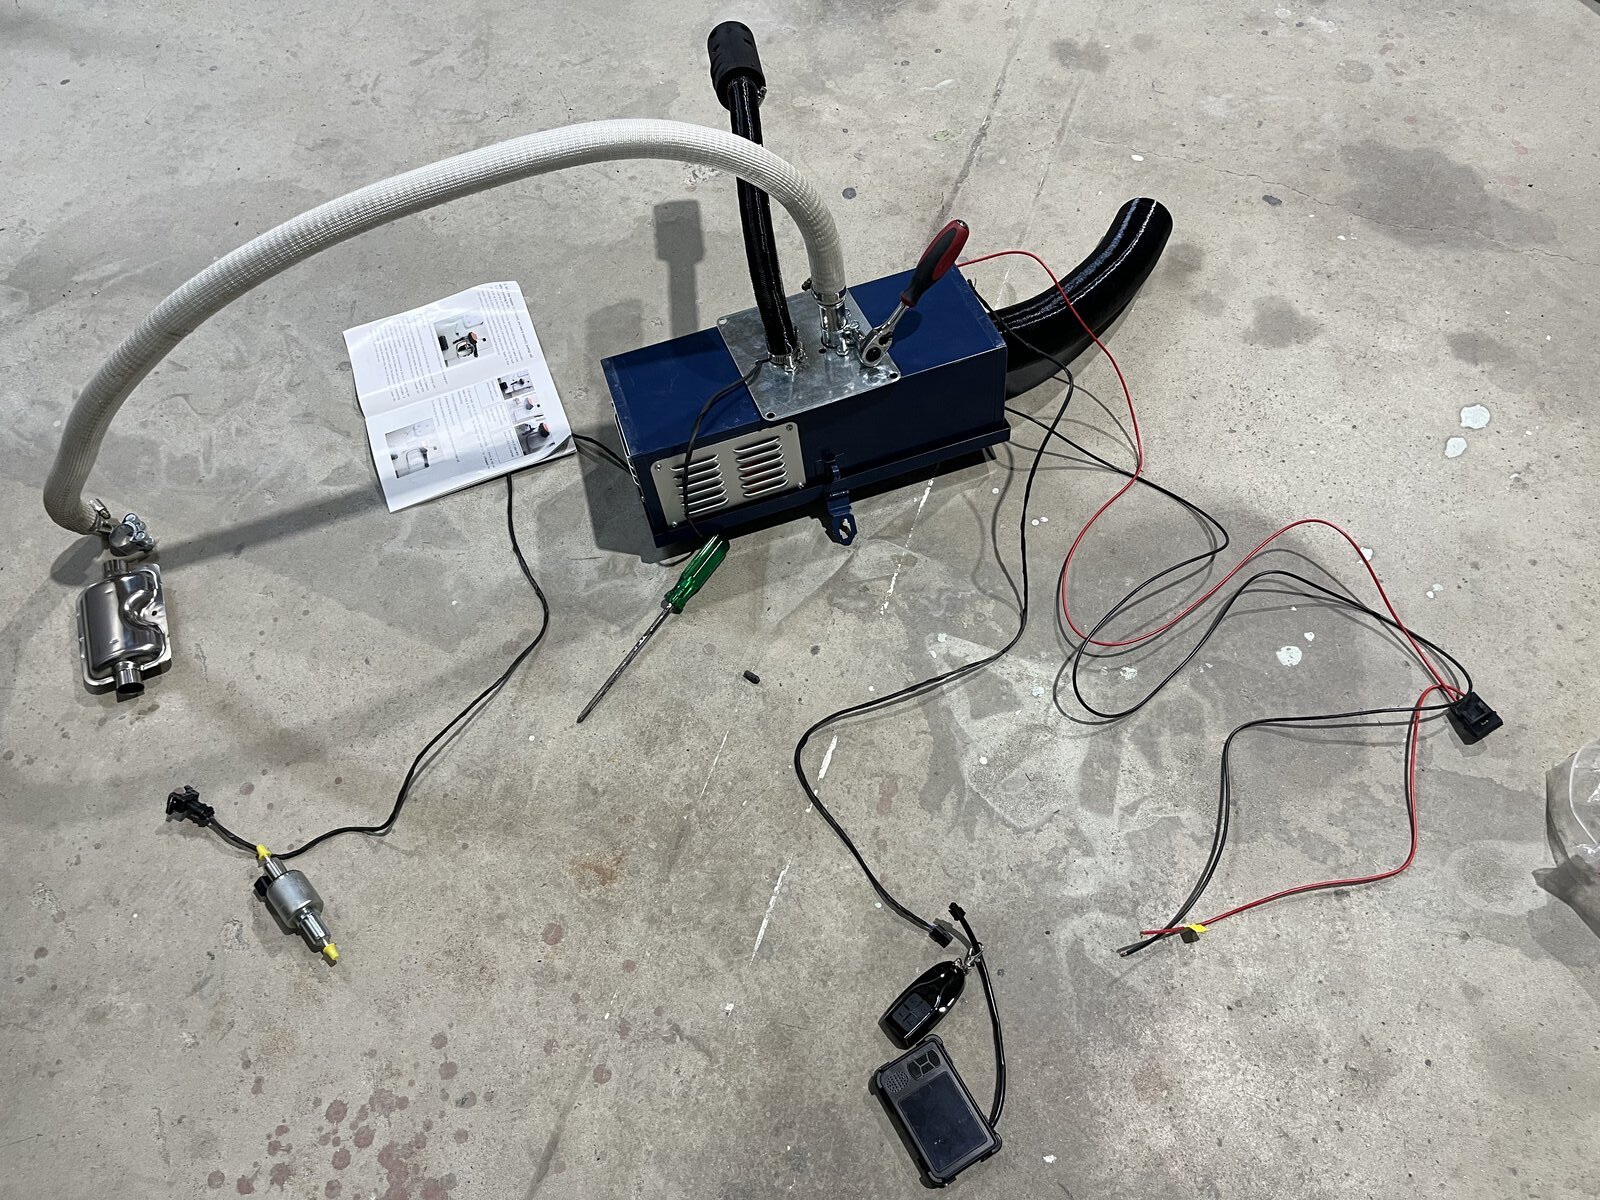
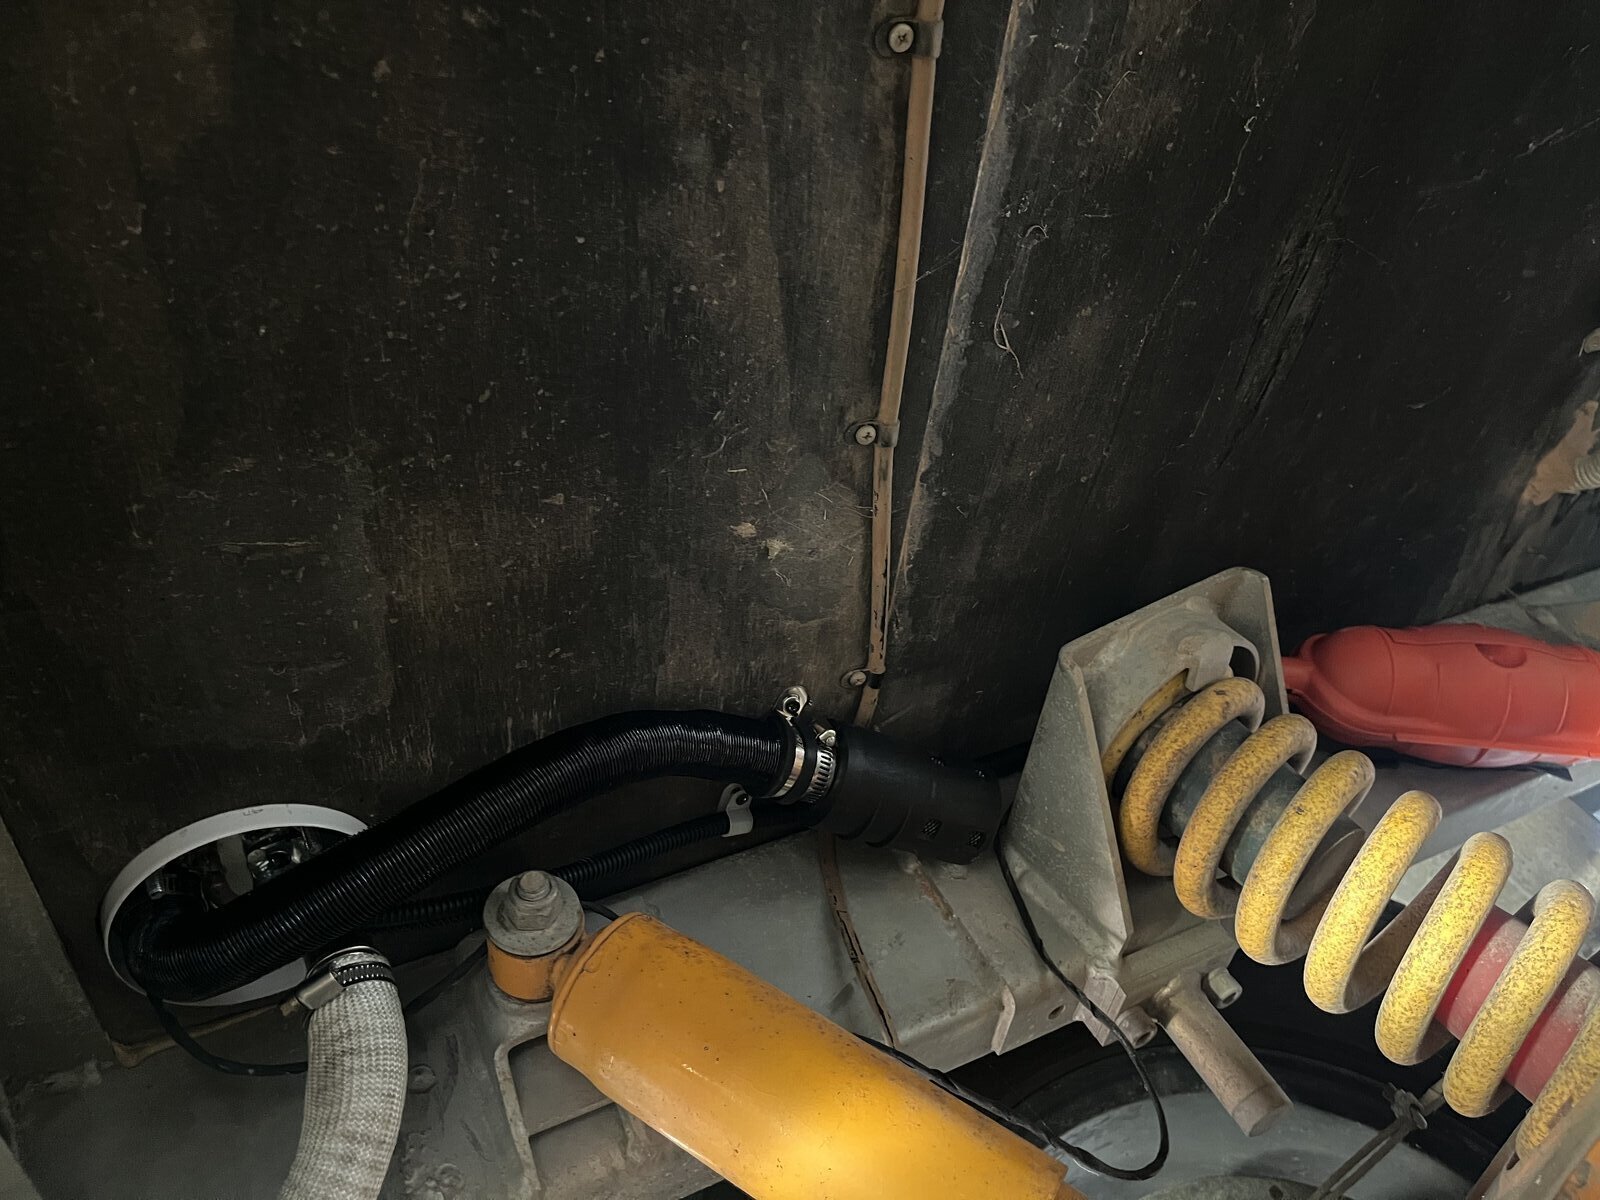
The green fuel hose that was supplied in the VEVOR kit was upgraded at Autopro to a pink diesel rated fuel line per the parts list on this page, however whilst that upgraded fuel line was higher quality and worked well from from tank to filter to pump, it didn’t seal on the vevor fuel intake nozzle with any of the clamps we tried so we ended up using some of the green fuel line from the VEVOR kit just for that section from pump to heater. It might have worked better if we'd found a 4mm diesel rated fuel line from an auto store.
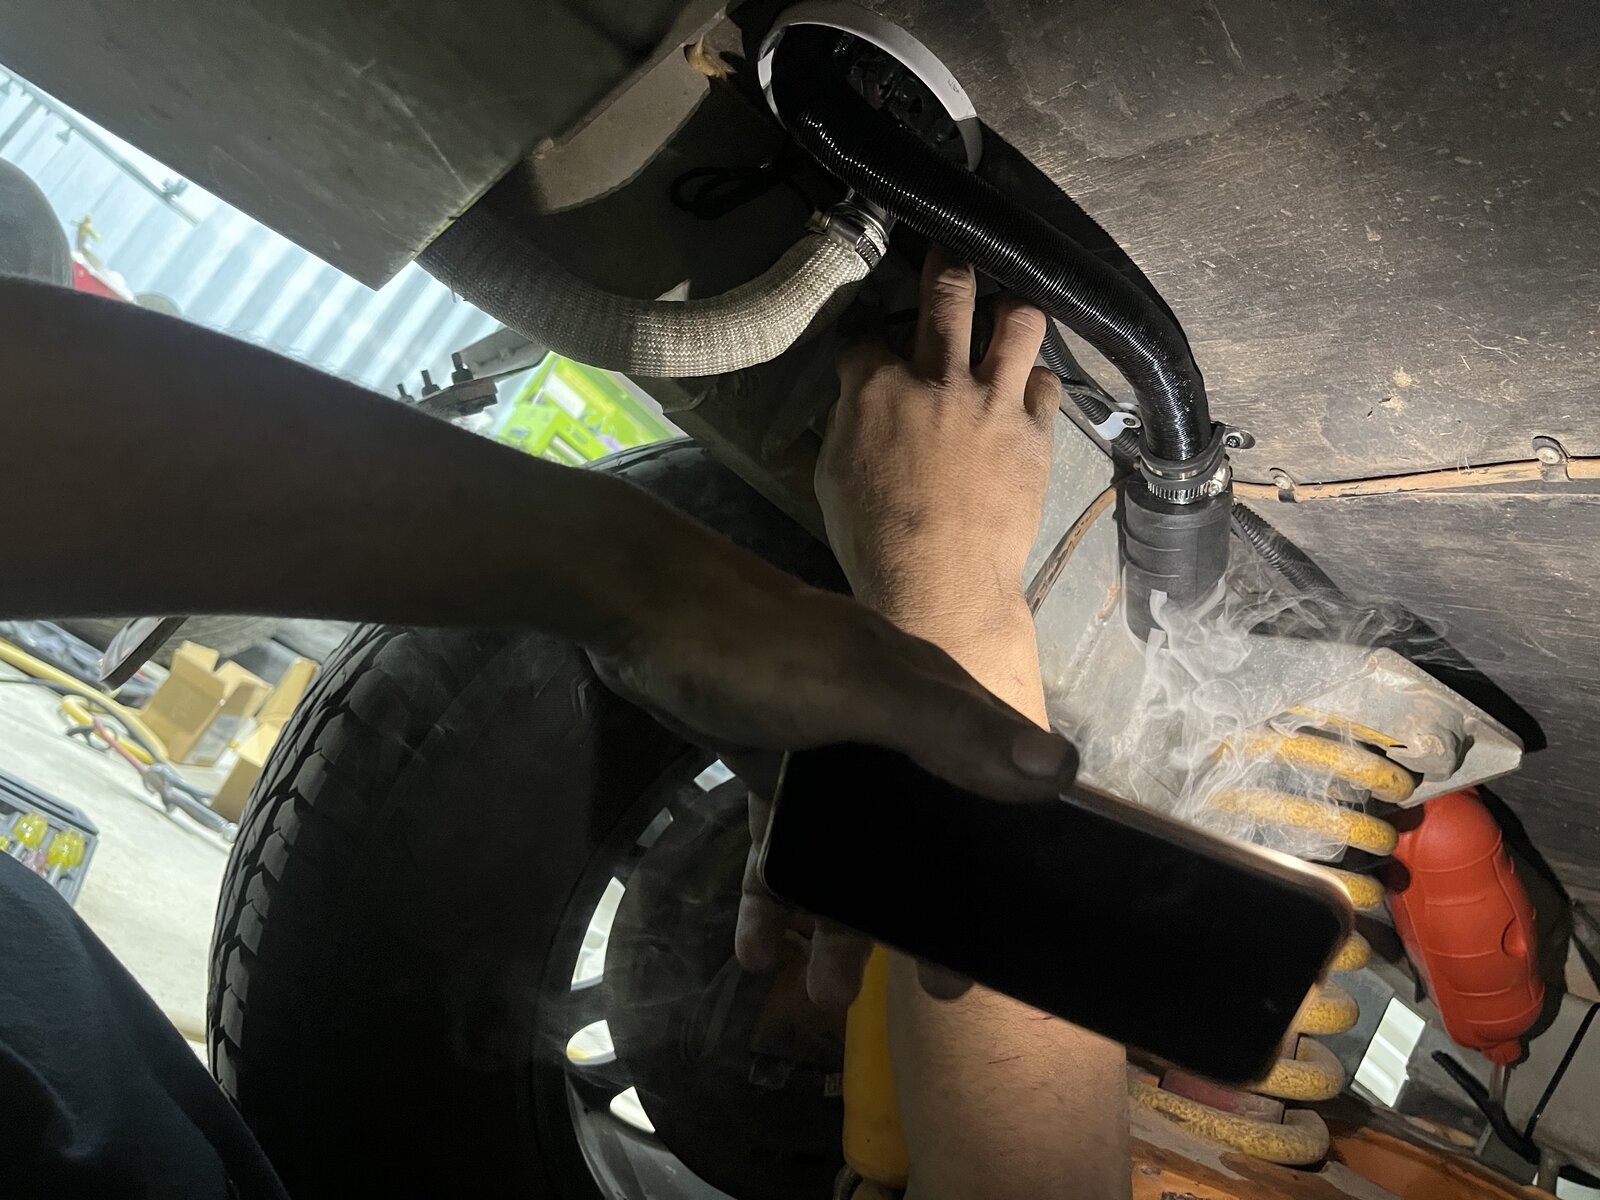
⚠️ If shopping for an upgraded fuel line, recommend you take the VEVOR heater and pump + fuel filter with you to the store and test that the fuel line will seal over the fuel intake nozzle and other components. And that would also be a good opportunity to buy appropriate hose clamps at the same time.It took several attempts to prime the fuel line due to this issue because the fuel line was bubbling air and this eventually flooded the heater with fuel due to an insufficient seal. As a result, the first few starts failed and the excess diesel that built up flooded out of the base of the heater everywhere, out the exhaust, out of the air intake and dripped down the hose line which provided the clue that the hose used wasn't sealed correctly. In addition to the faulty VEVOR fuel filter instructions mentioned below, this all took hours to diagnosis during the installation and would have been avoided if the install had been left to a professional.
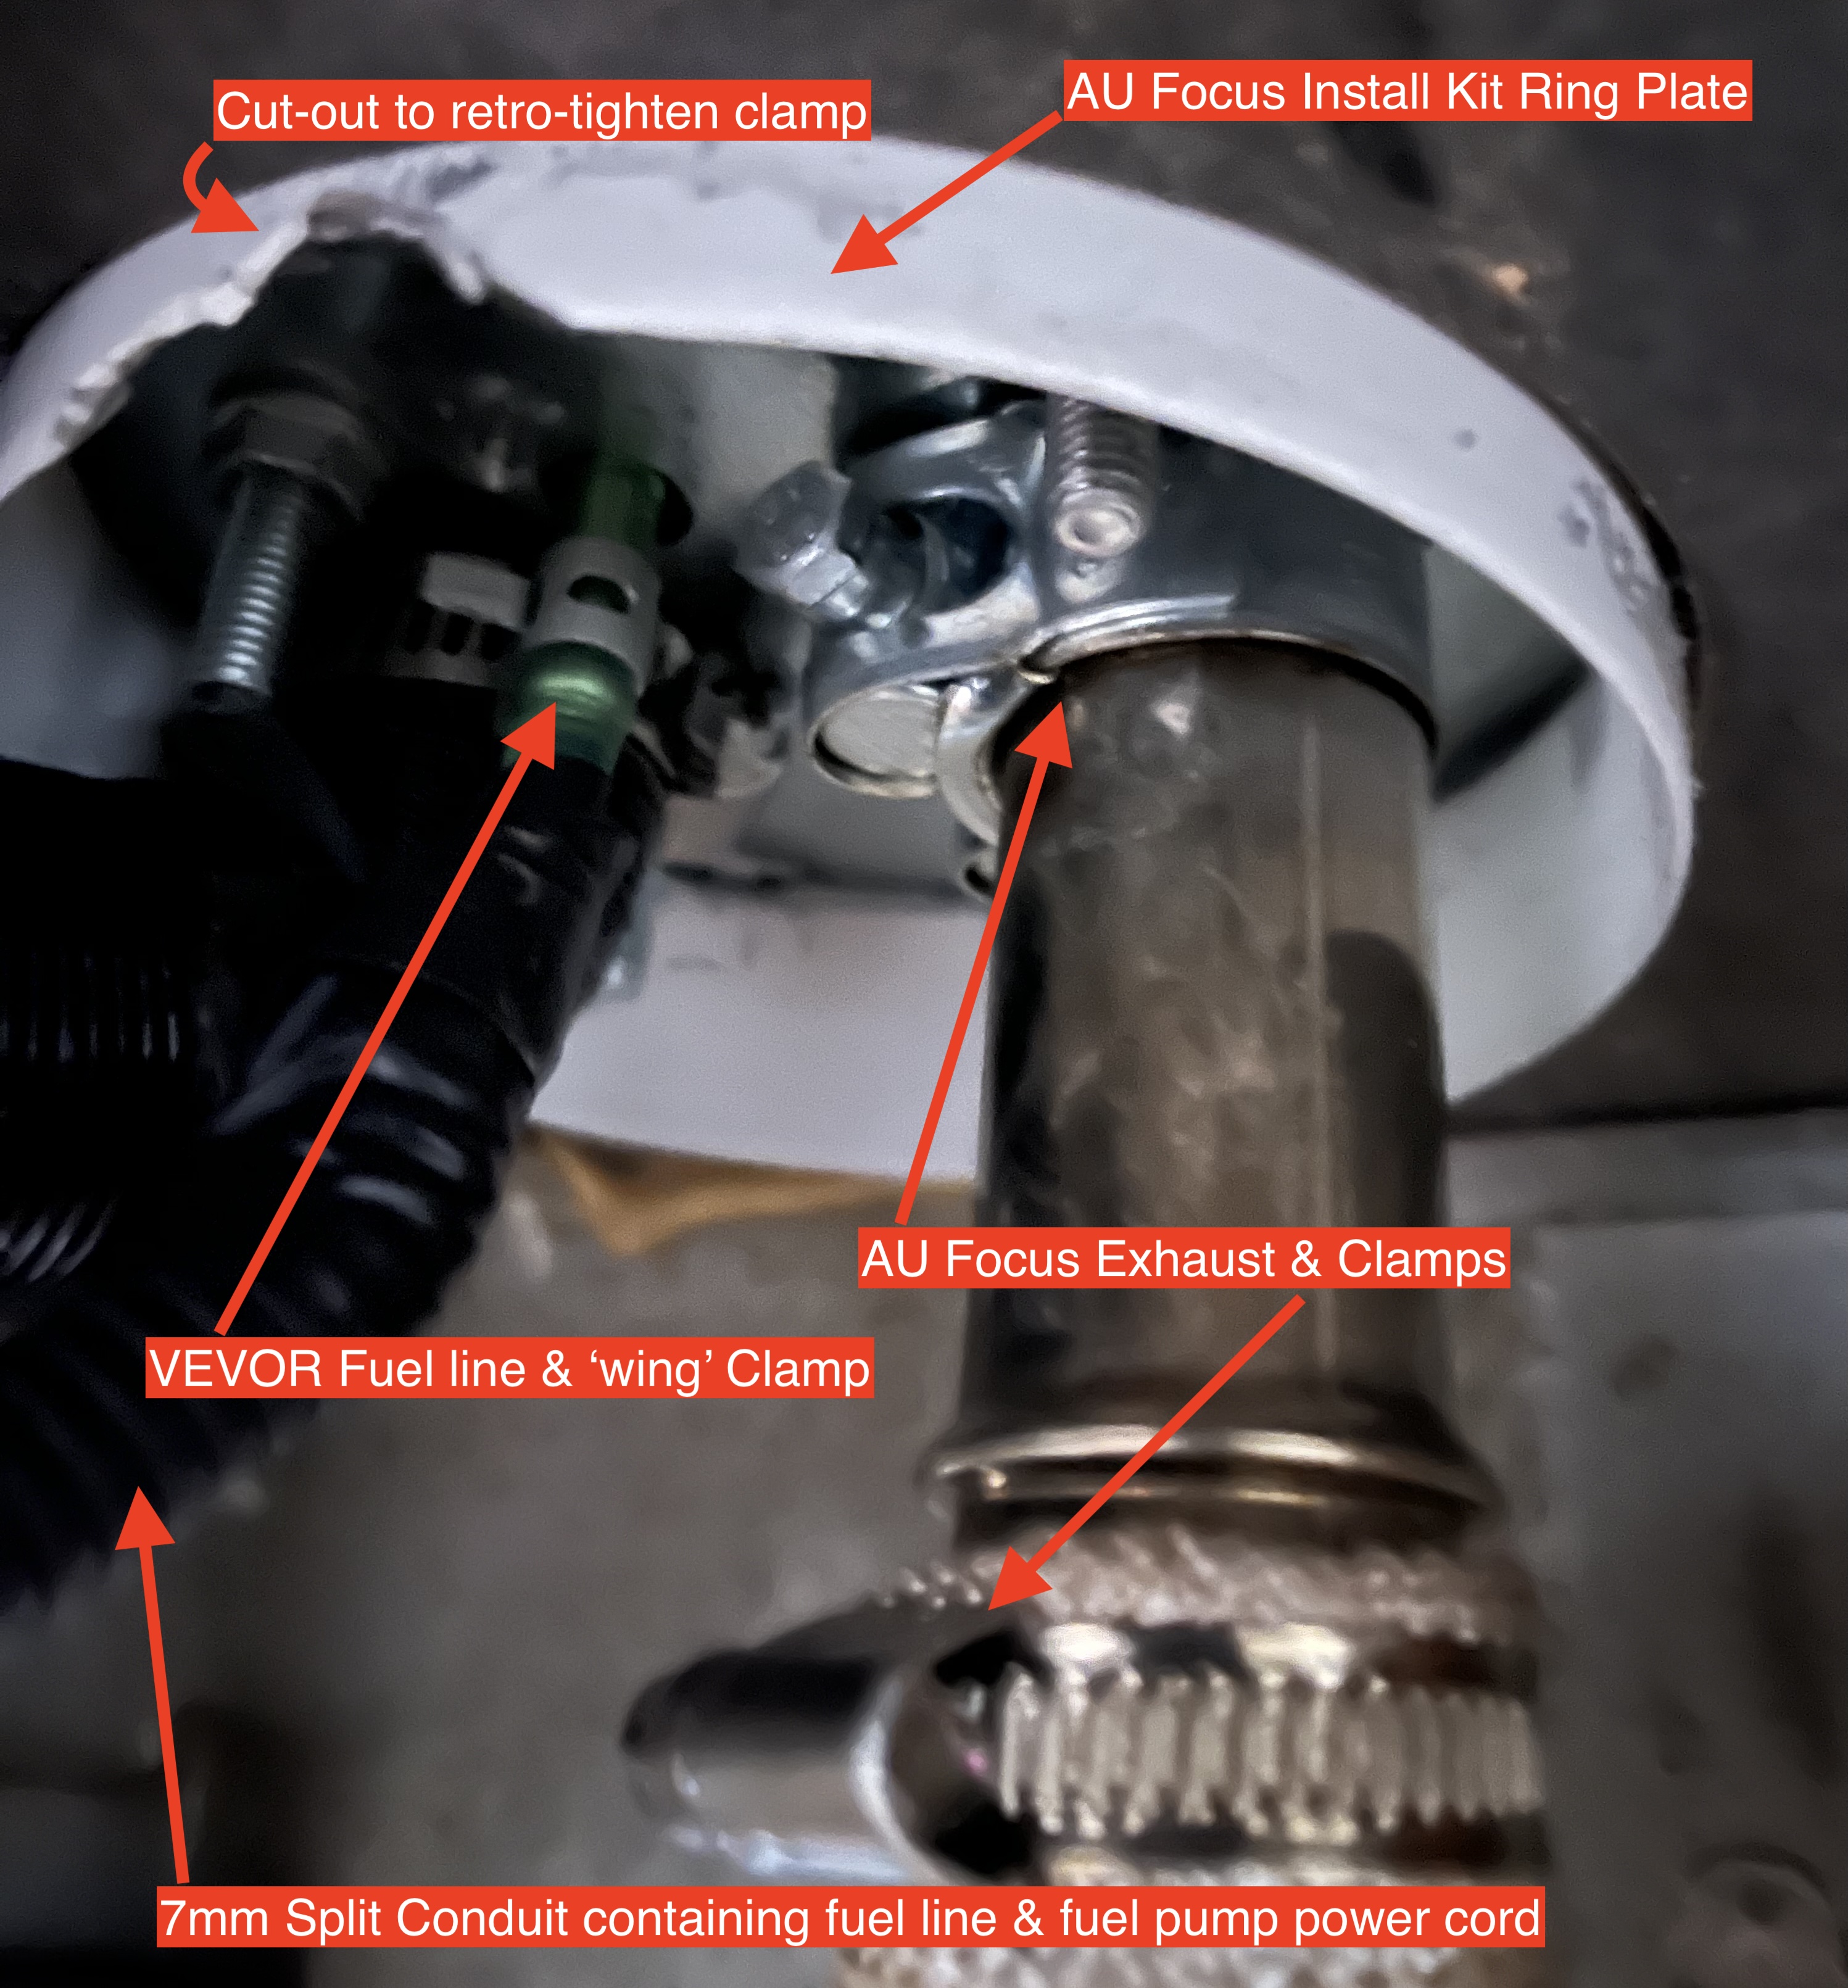
Because the heater had already been affixed to the AU Focus ring plate with the high temperature silicon from the AU focus kit, the line was removed from underneath but we needed to cut out the ring plate to be able to loosen and tighten the connections with a screwdriver while diagnosing because a socket wrench wouldn't fit. This also caused a huge flare up of white smoke on the next start attempt.
* The VEVOR instructions were quite clear about how to prime (ie. holding a button on the display for 5 seconds) however if the fuel line isn't air-tight all the way along, a failure like this is likely.
⚠️ VEVOR wiring extension
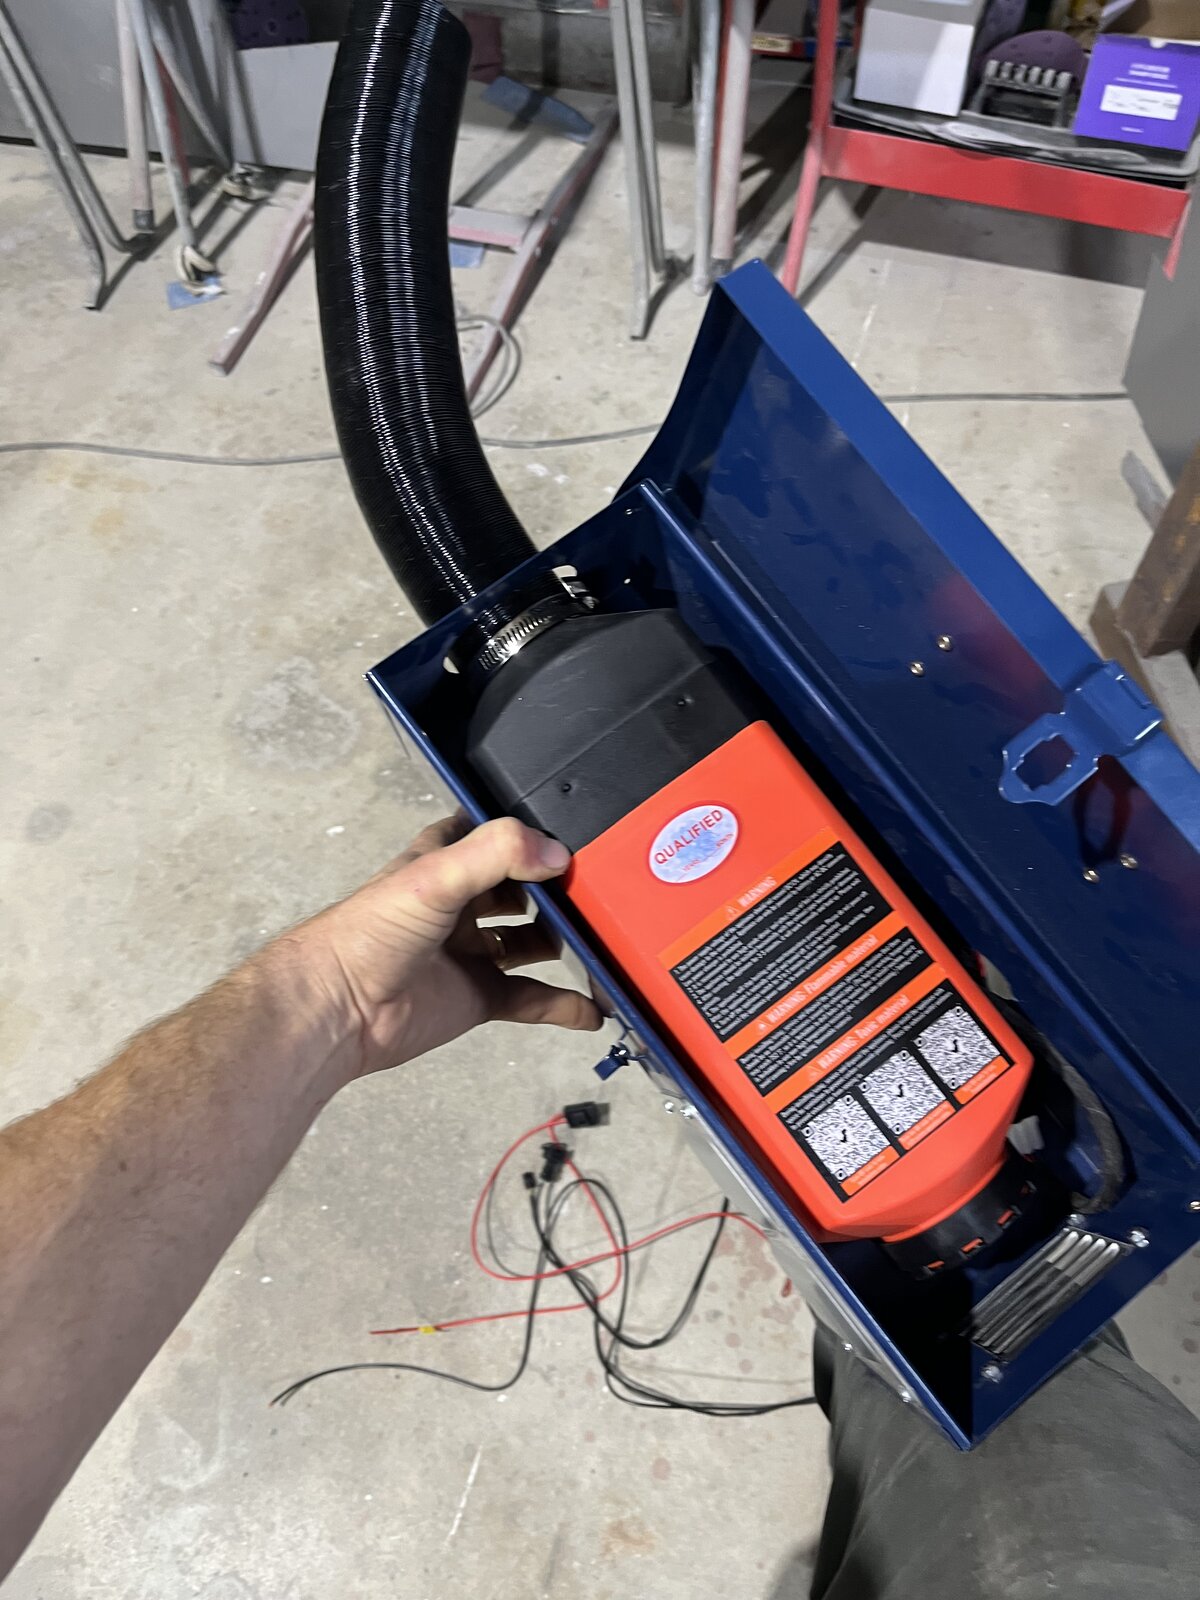
The wiring that came out of the VEVOR heater was not long enough to reach the battery on the Avan Cruiseliner and needed to be extended. You can see the default wire coiled in the toolbox photo below - it's only around 1m in length.
On this install, an auto electrician installed an isolation switch and extended the wire which helped to instantly cut power to the heater when the fuel leak was happening. That said, this may have been a factor in subsequent failed starts and smoke emissions because the VEVOR manual suggests turning the heater off with it's internal shutdown process via the control is an important step before cutting power. Installing the VEVOR without an isolation switch is plausible as a DIY project and in retrospect, the isolation switch isn't required. That said, the VEVOR control panel displays a digital clock when the heater is off which will put a a small drain on the battery over time, and if an isolation switch is installed, that clock resets the switch is used.
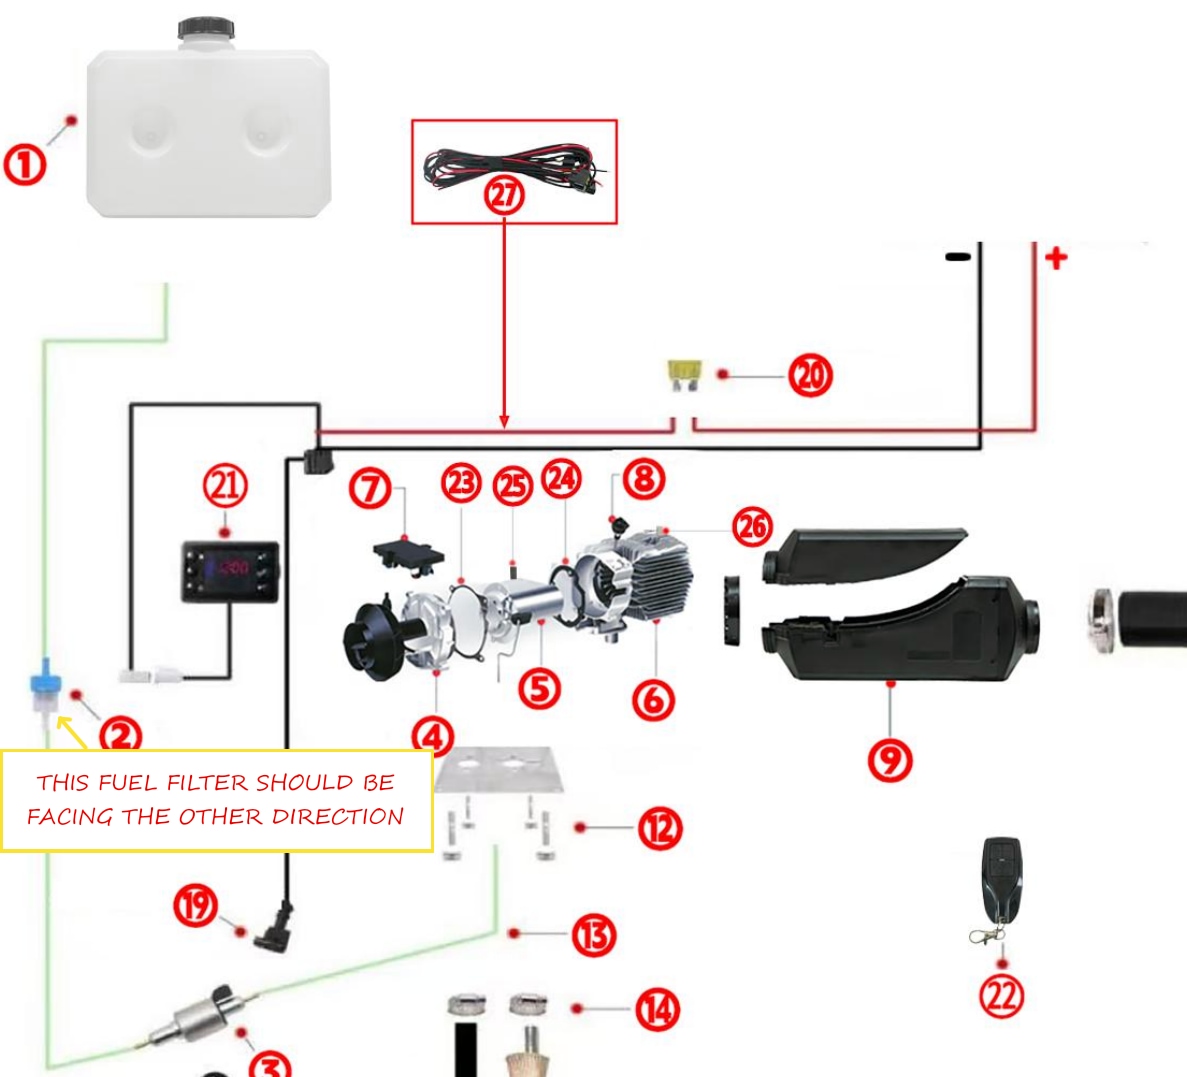
⚠️ VEVOR install diagram - fuel filter wrong way
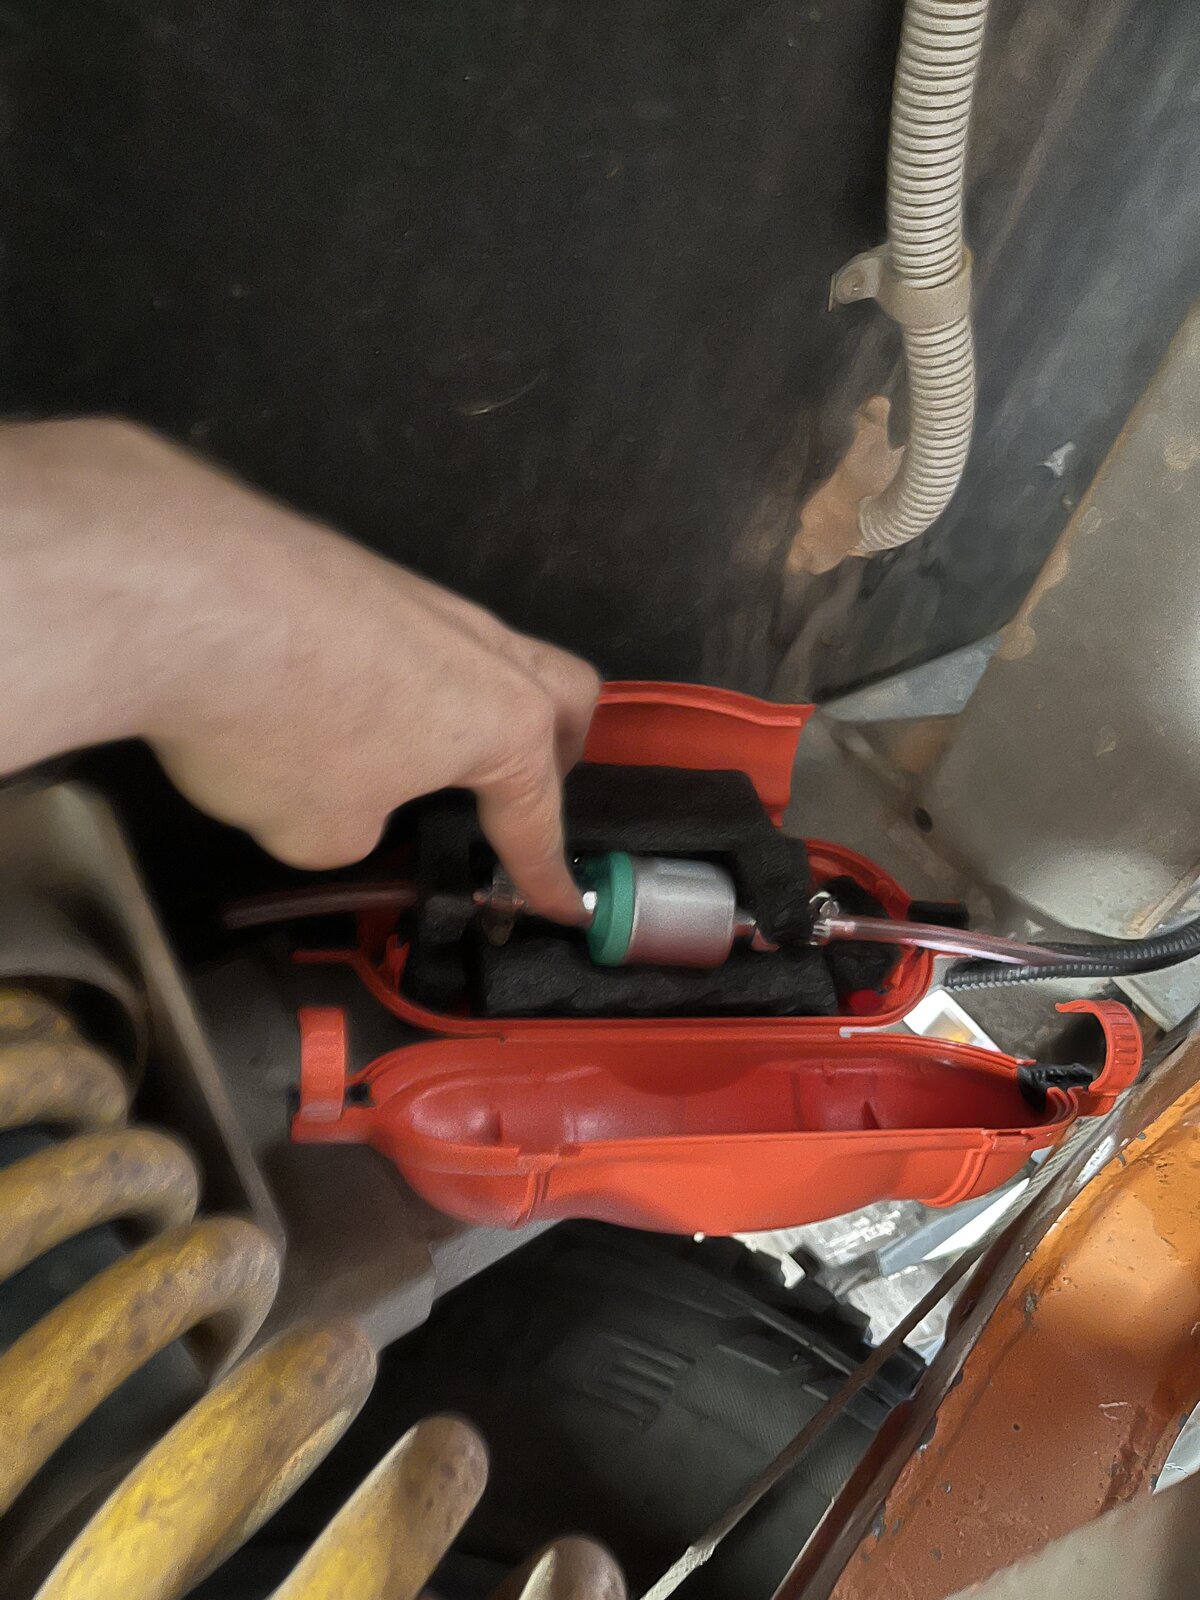
Another issue that cost a lot of time to debug was that the VEVOR installation diagram below shows the clear transluscent end of the fuel filter facing -towards- the fuel tank instead of -away from- the fuel tank. This is ABSOLUTELY WRONG and caused a lot of headaches trying to prime the fuel line which did not work until this was reversed. The transluscent end of the fuel filter should be facing the fuel tank and the solid blue cap should be facing the pump. The intent of this unidirectional design is to ensure you can see sediment from the tank before it enters the system.
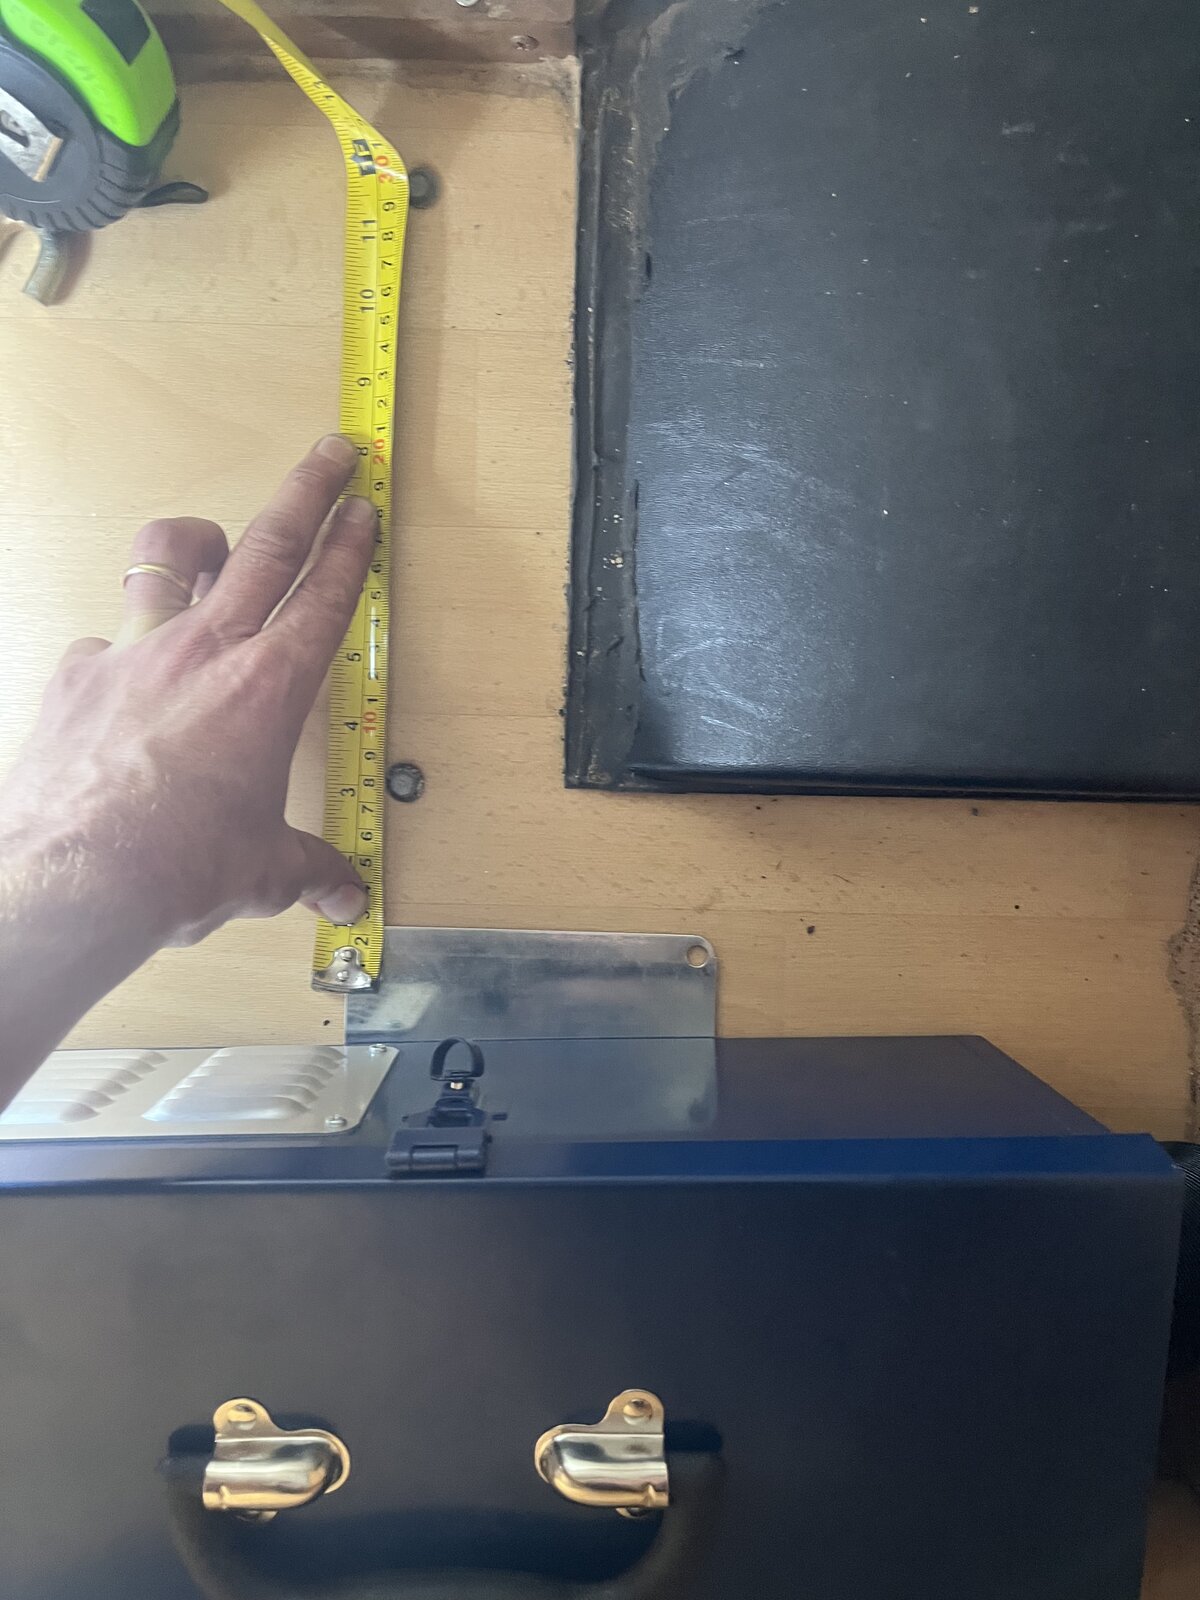
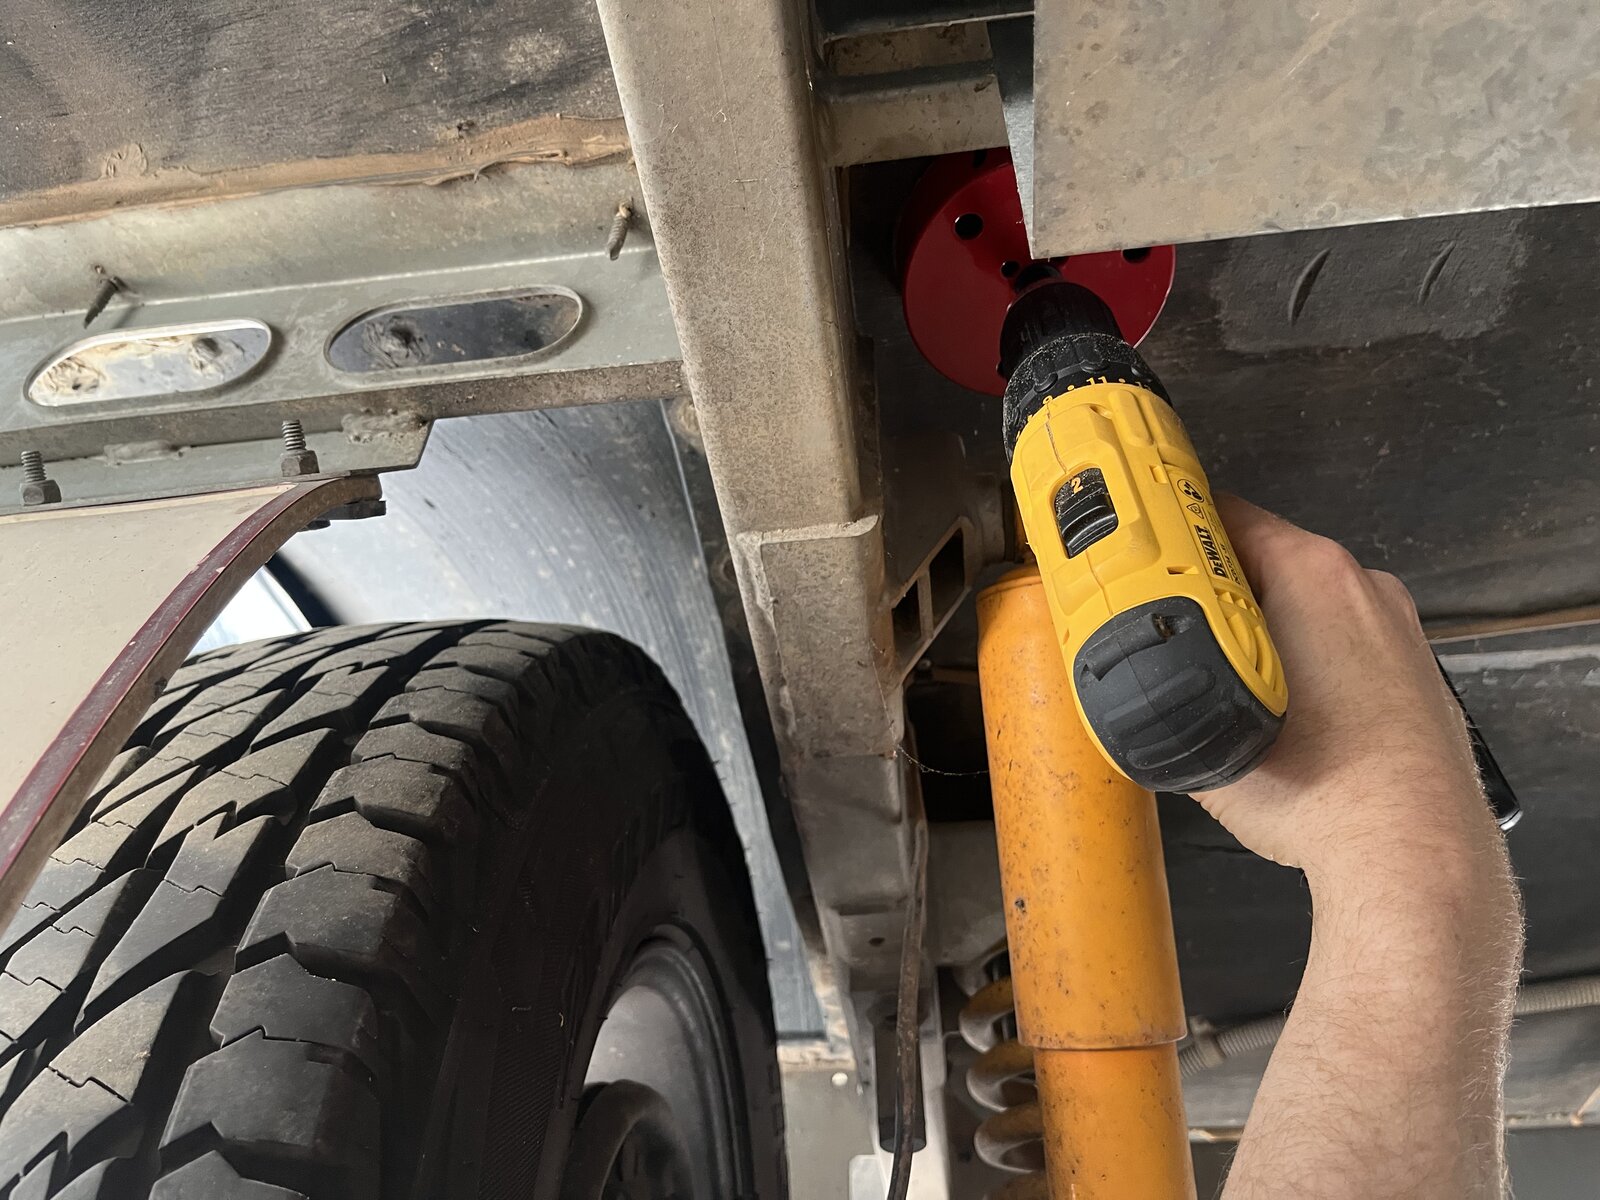
Avan Cruiseliner Floor penetrations
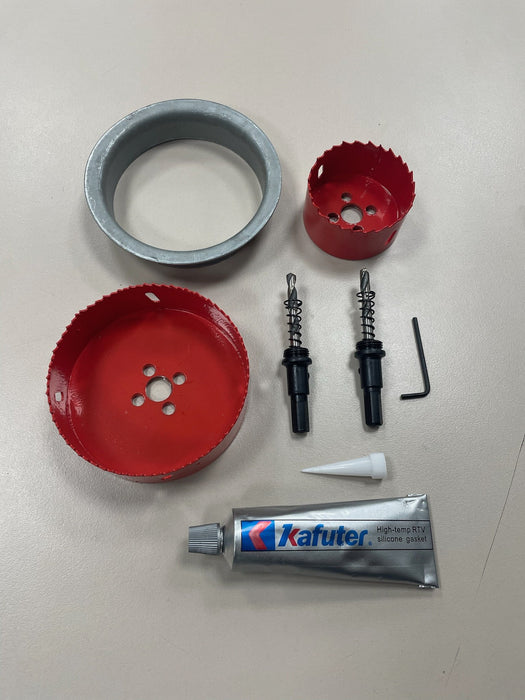
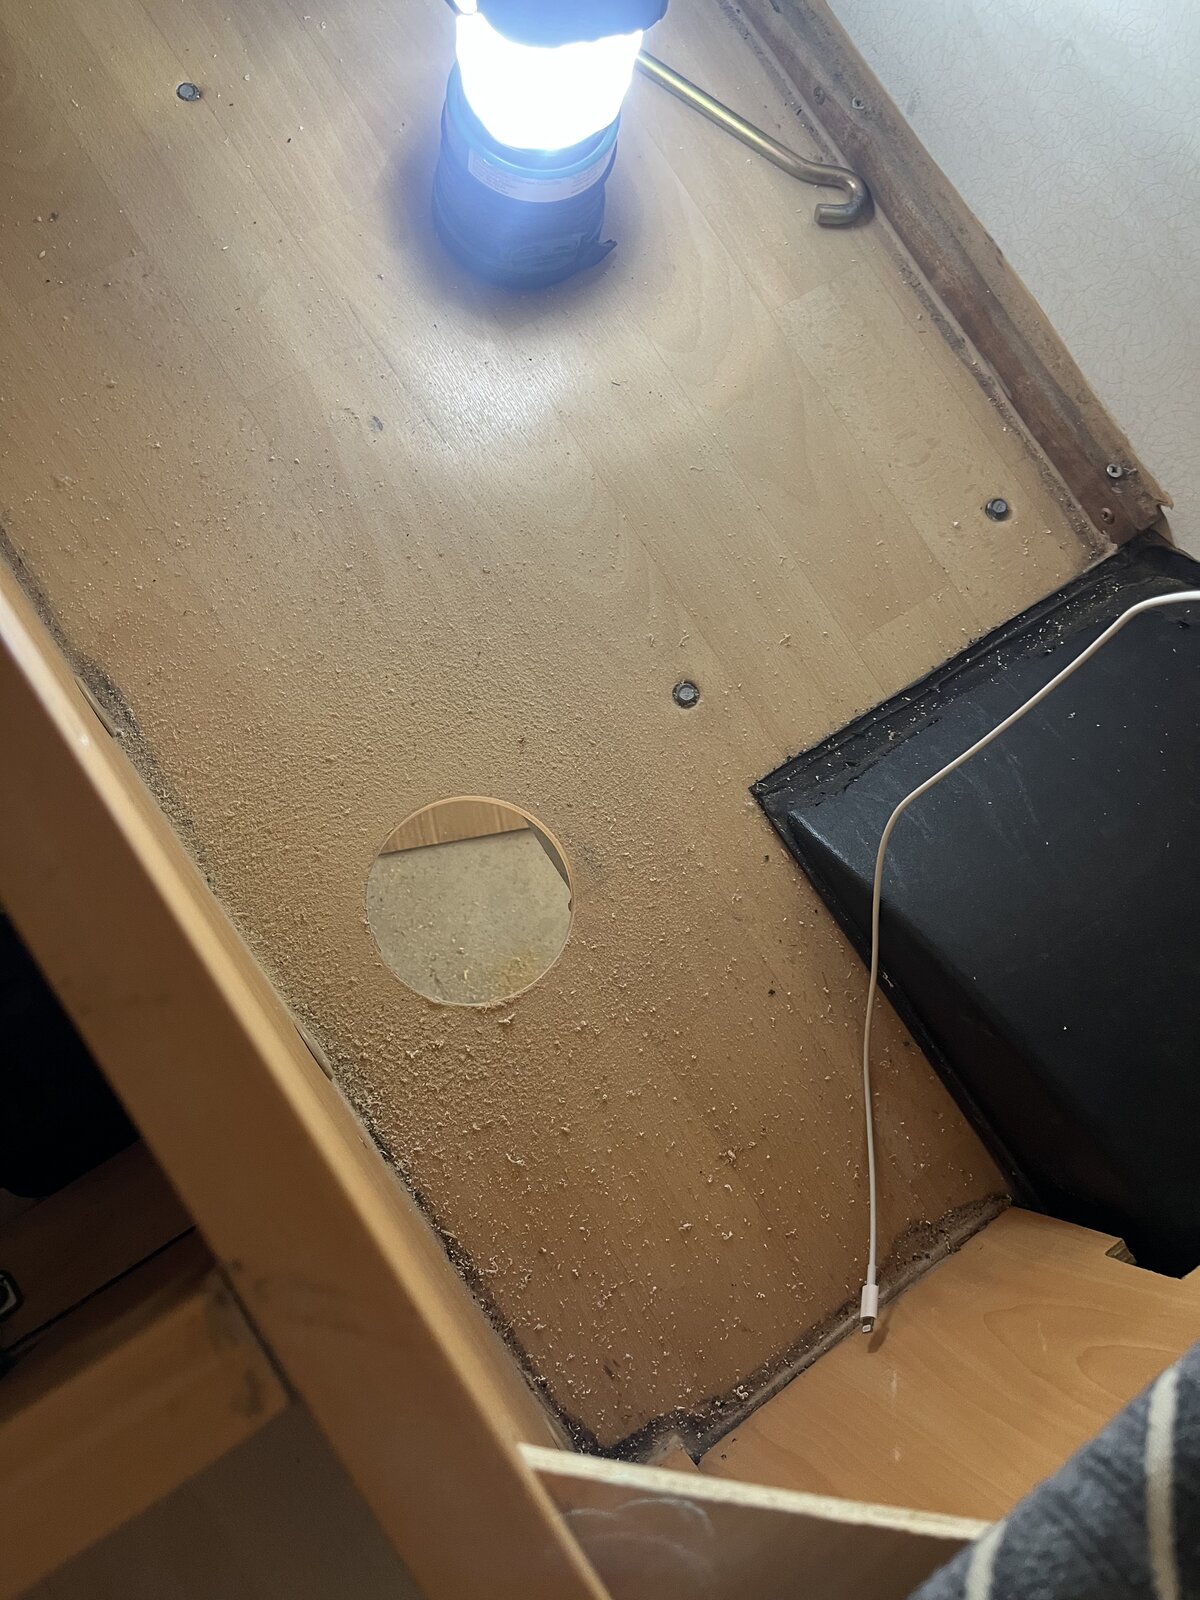
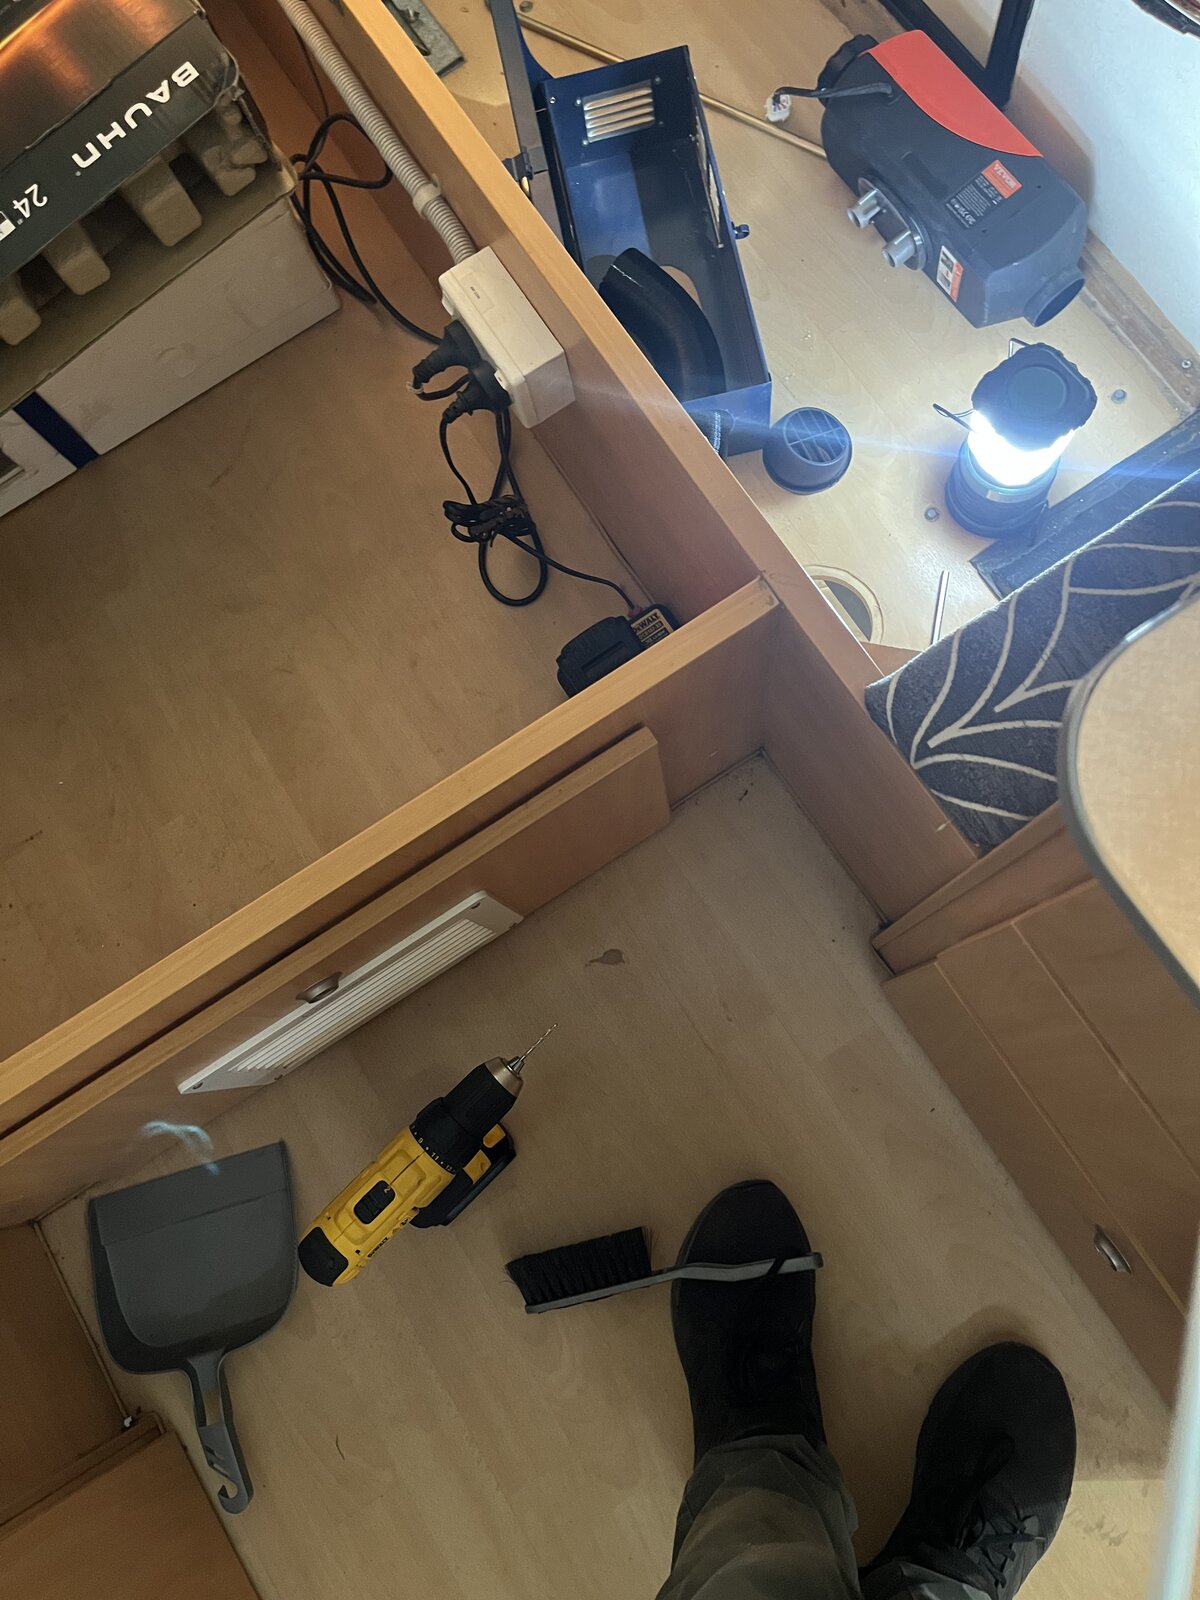
Per the measurement and location below (right click images and open in new window to enlarge), the AU Focus installation kit worked really well to mount the heater just inside the wheel frame on this Avan Cruiseliner. There was -just- enough space to drill a hole that didn't interfere with the frame or the water tanks.
Heater enclosure
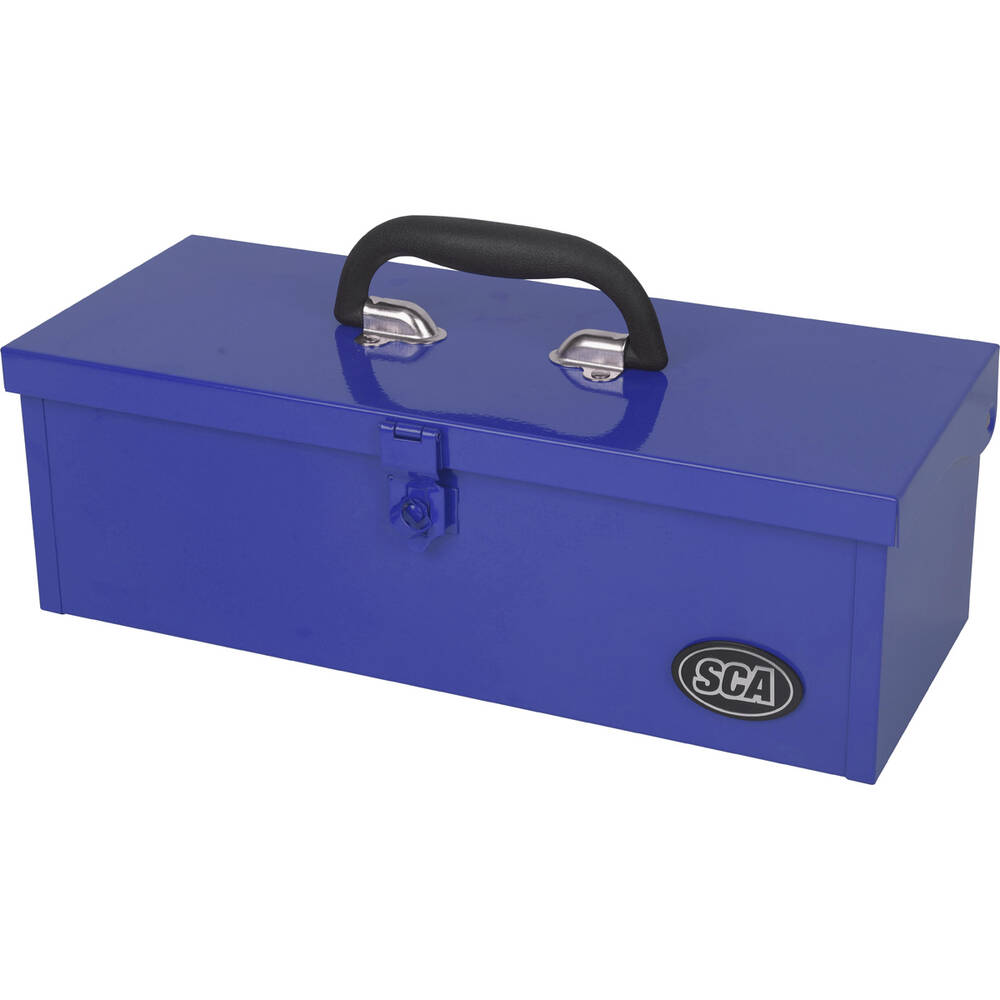
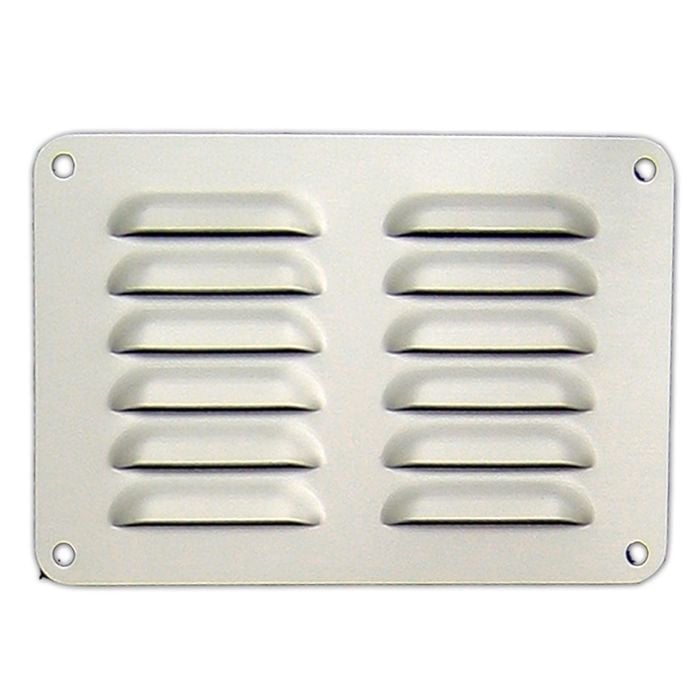
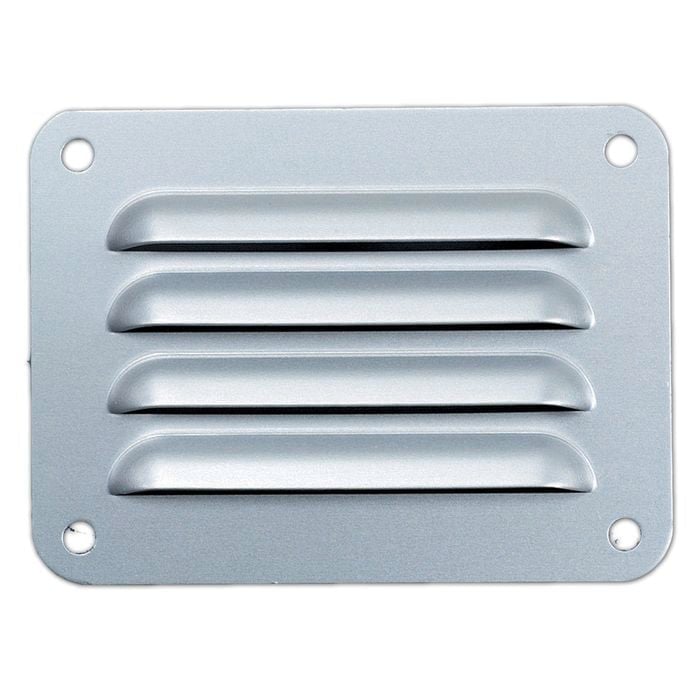
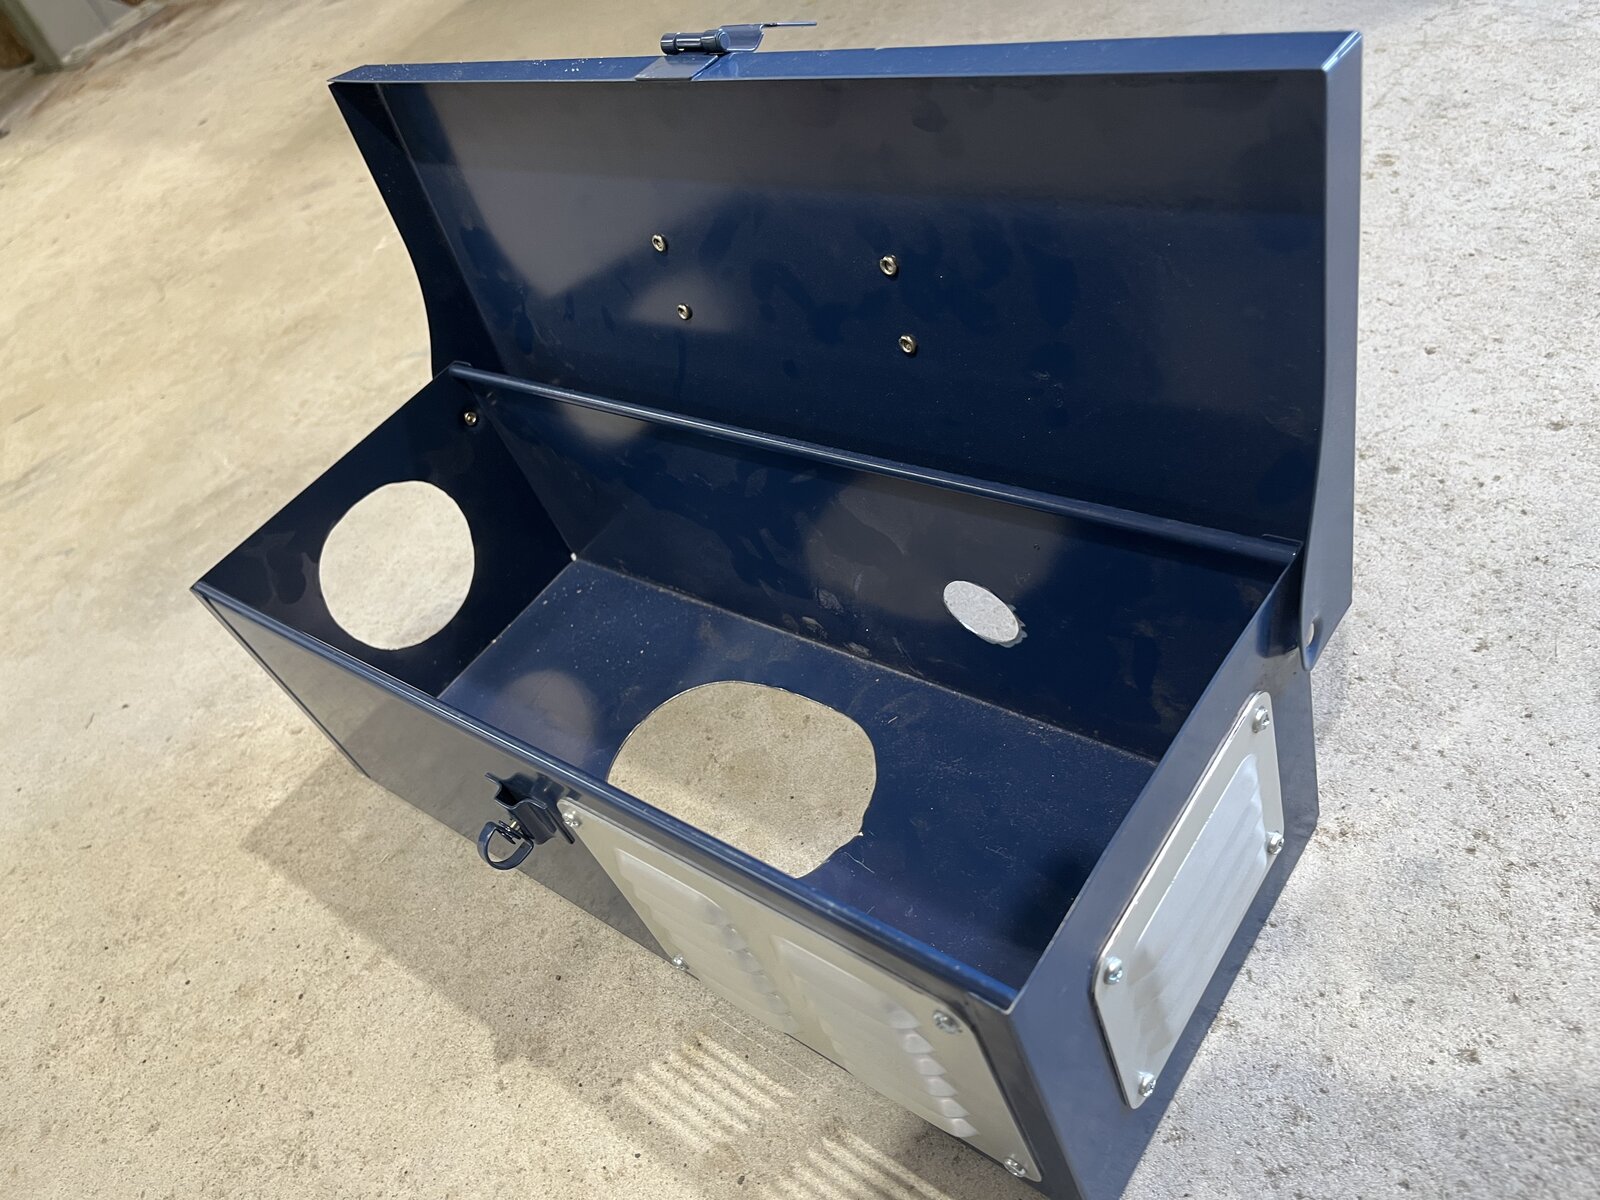
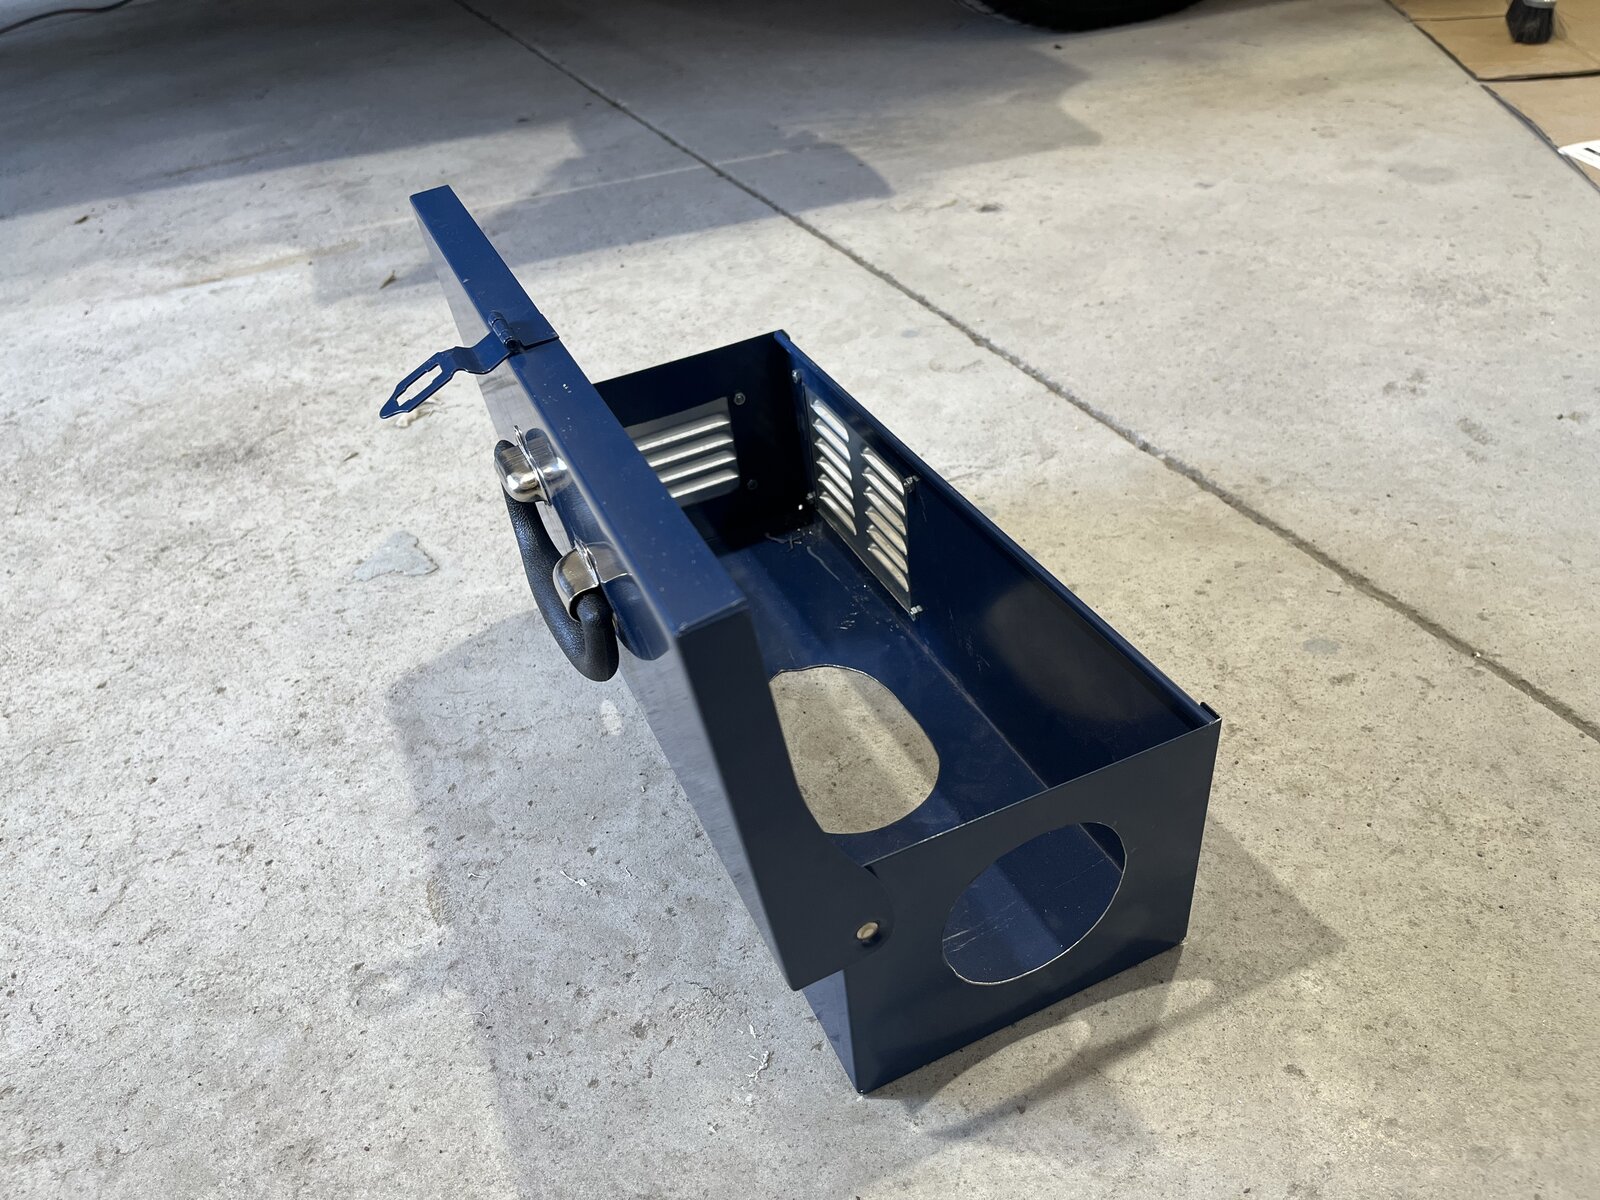
Three holes are cut in the SCA metal toolbox - one in the base for the exhaust and two in the internal divider for the air intake and hot-air outlet ducts. The louvred rear panel provides natural convection cooling around the unit. The heater drops straight in once the holes are aligned and the exhaust hose is pre-attached.
This design was based on Garry Lynch’s toolbox comment in this facebook thread. In retrospect, the decision to cut holes in the toolbox and use it as the enclosure was very labour intensive and probably should have been avoided using a purpose-built cover like the Born To Roam Aluminum Main Unit Protective Housing Cover would have been a suitable and much easier option.
Note: The instructions didn't make it obvious, however the power cable for the fuel pump can be fed through the small hole abutting the black air intake in the base plate, refer photo below (and note that this VEVOR square base plate is then affixed to the rounded AU Focus mount plate with the silicon gasket sealant from the AU Focus kit in between. And, the vinyl on the floor was cut in a circular hole to sit the AU focus mount plate flush).
⚠️ Control panel placement - too close to the heat outlet
Mounting the control panel right next to the heater was a bad choice. The panel sits beside the hot-air outlet and the heat coming off it caused the translucent display film - the one with the shading for the coloured bars - to permanently peel off the panel. If doing this again, the control panel would be mounted further away from the heat outlet. See this section of the install video for a closer look.

This 💩 'ultra quiet' pump sold on ebay was actually noisier than the VEVOR provided pump
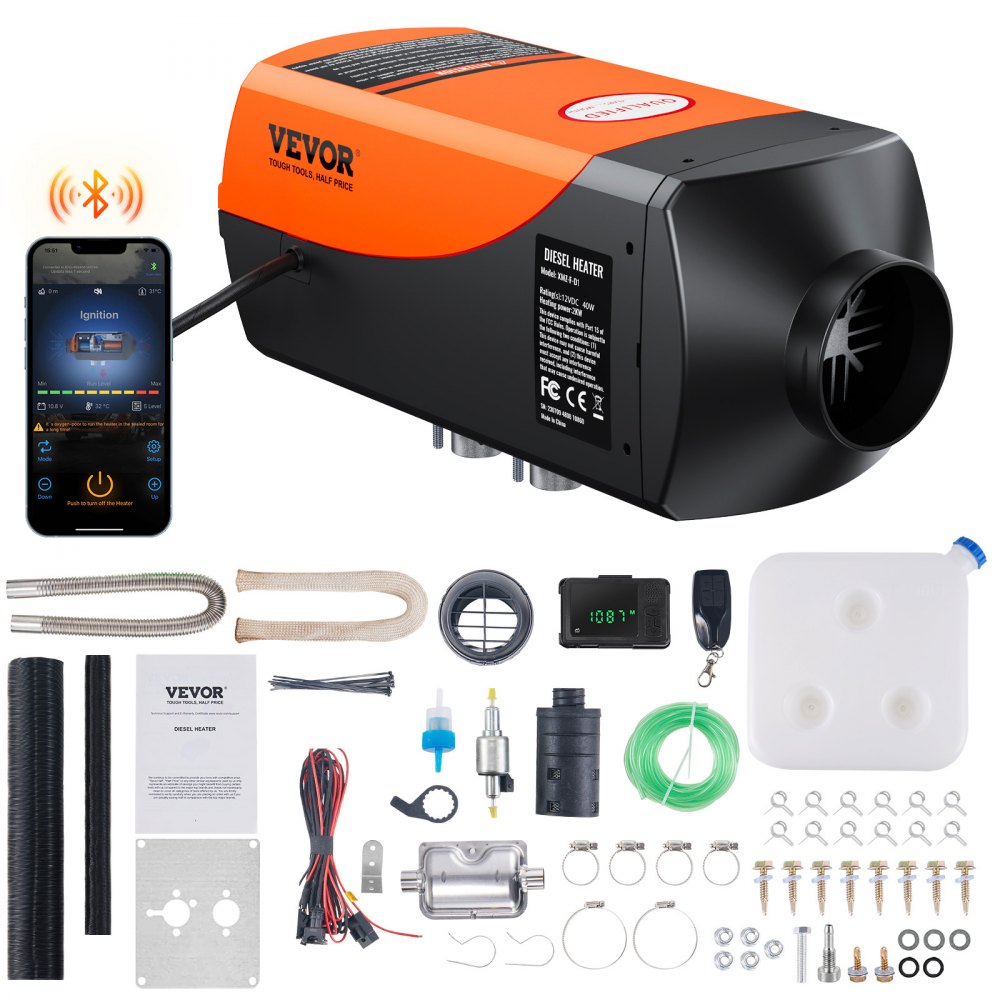
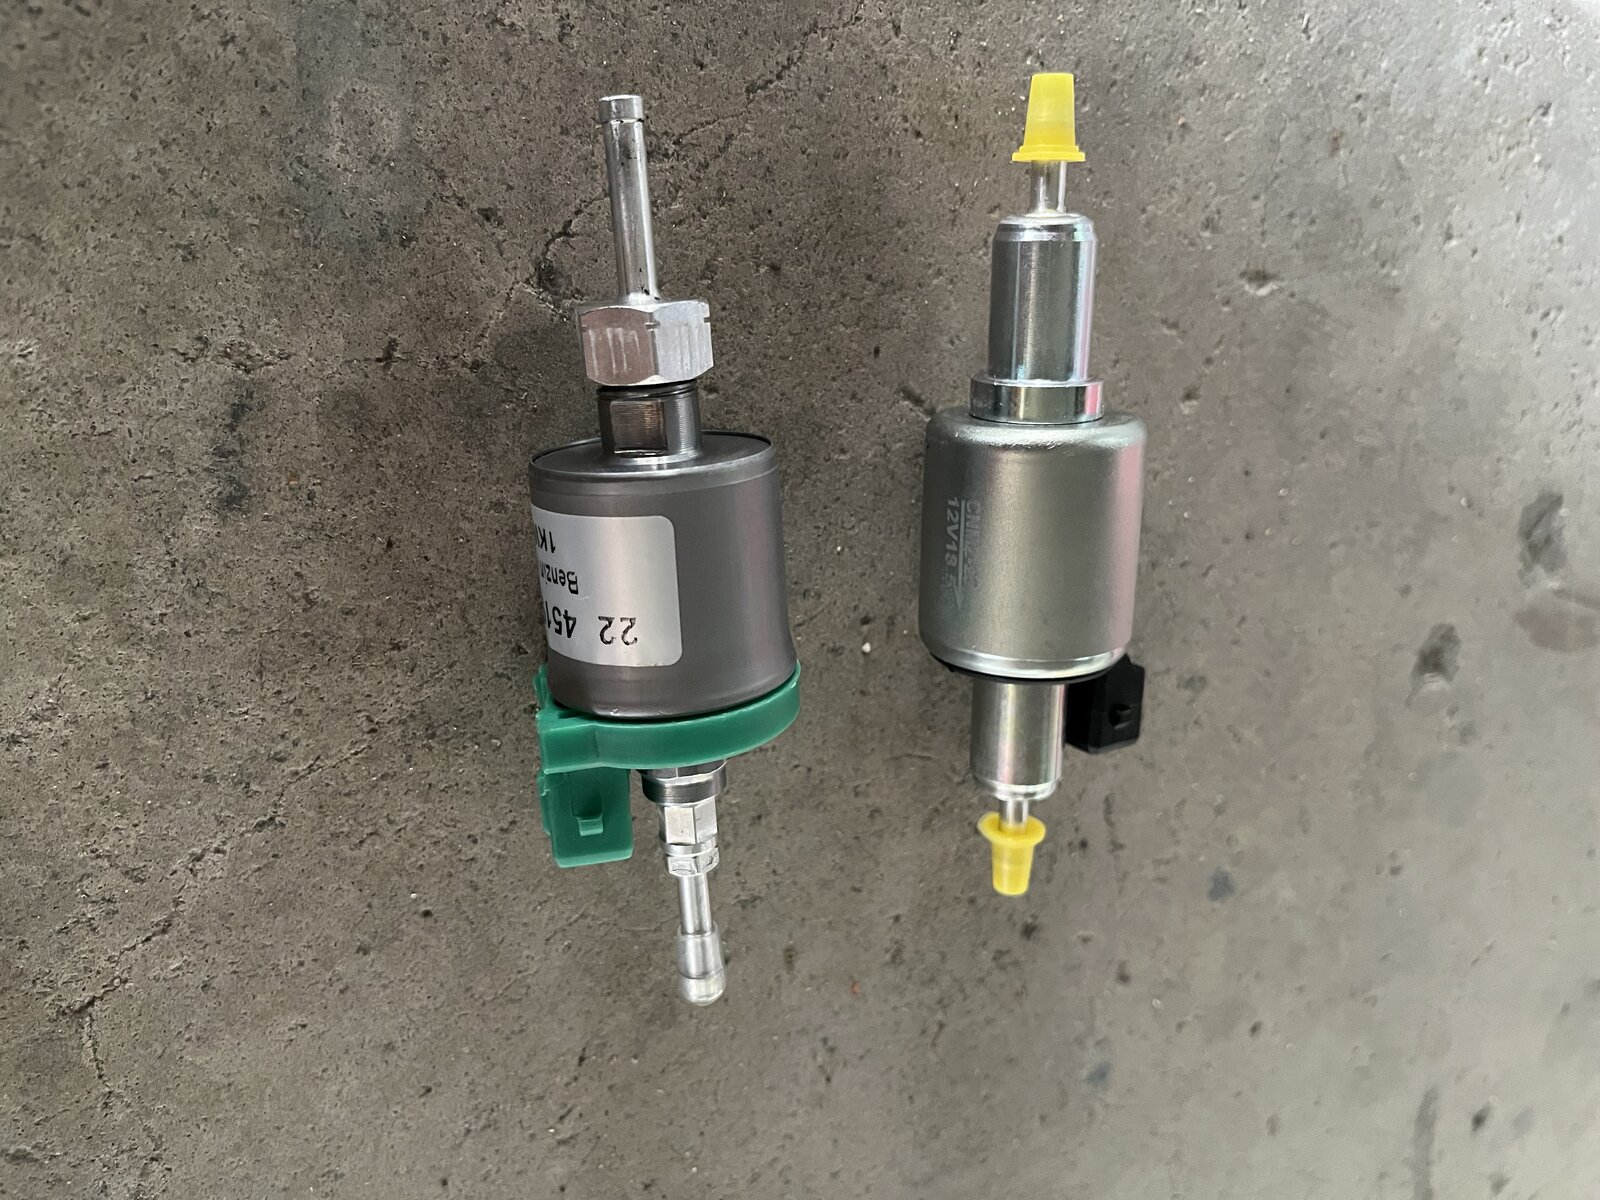
Interestingly, several posts online suggested the 'ticking' noise on the fuel pump can be dampened by using a Universal Ultra Quiet 12V 1-5KW Chinese Diesel Parking Heater Fuel Pump 22ml A replacement part (the green one in the picture below) however when we fitted that, it actually turned out to be noisier than the default pump that came with the VEVOR kit. So we used the silver pump (with yellow caps) that came with the kit. Maybe the VEVOR pump has been upgraded since other youtube reviews of it?
🤌 Dampening the 'ticking' noise on the fuel pump
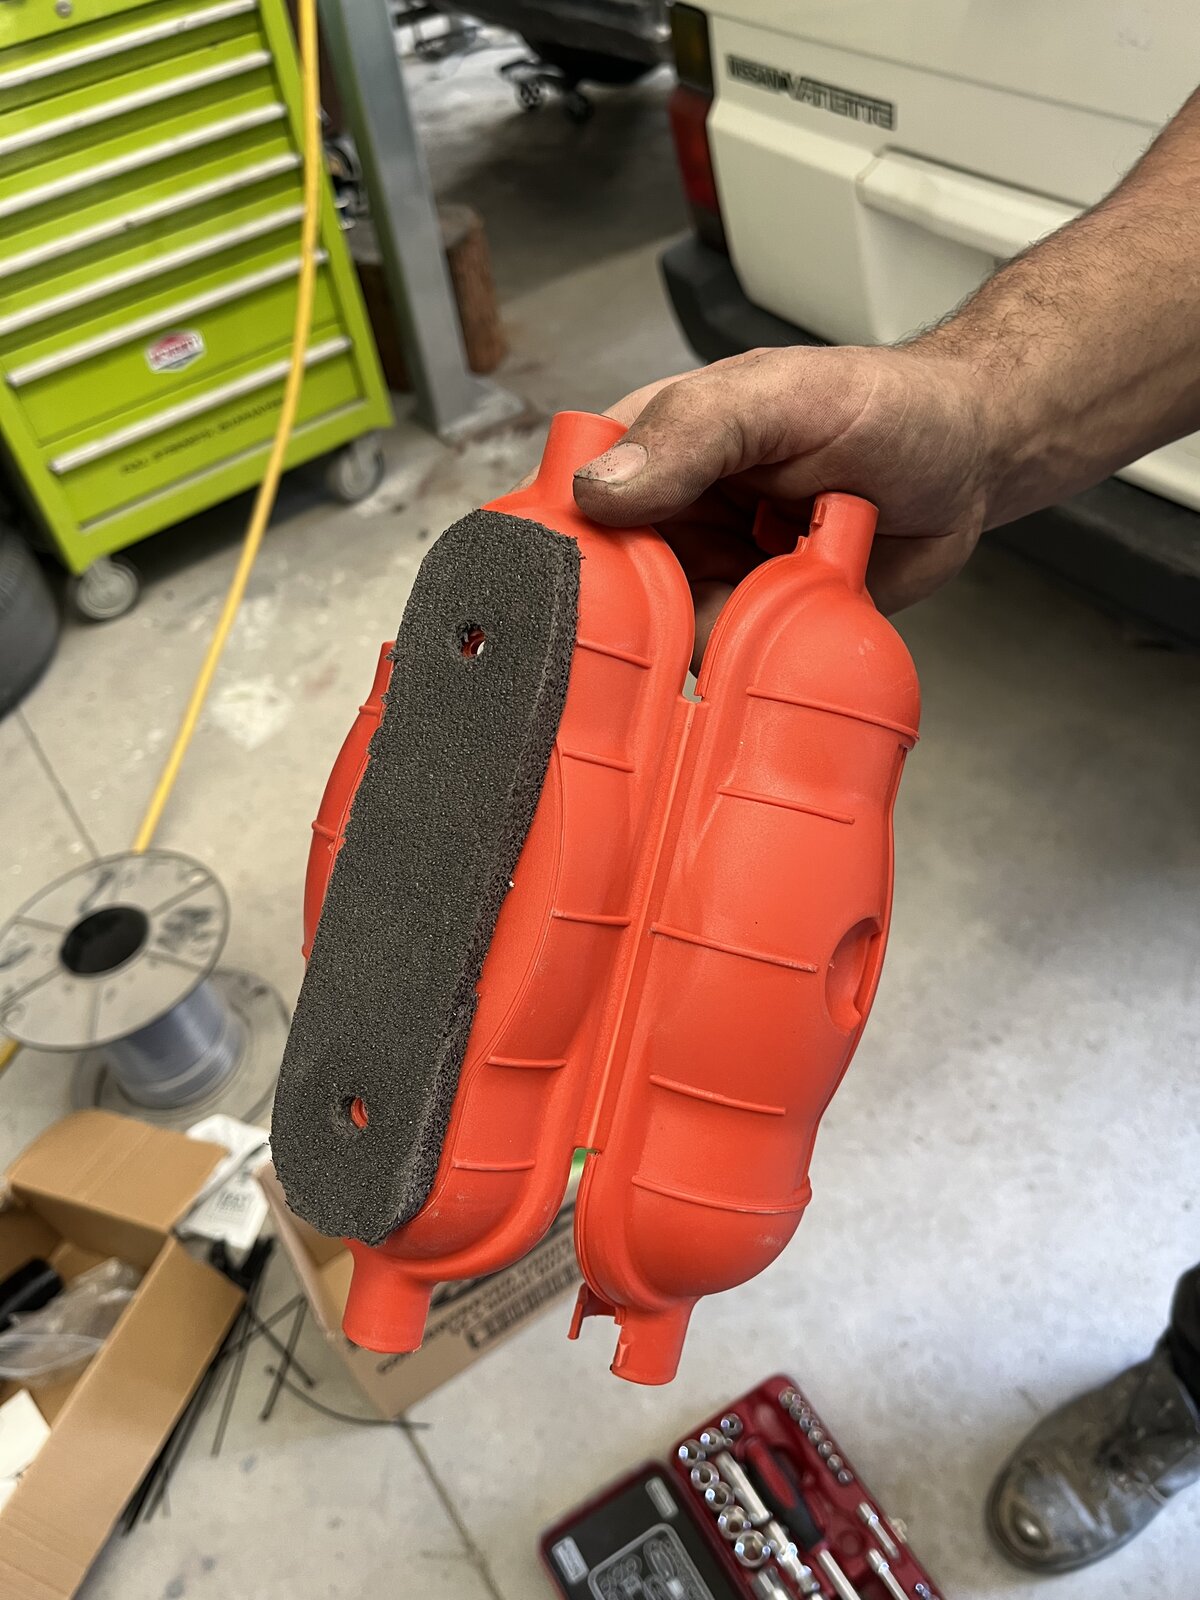
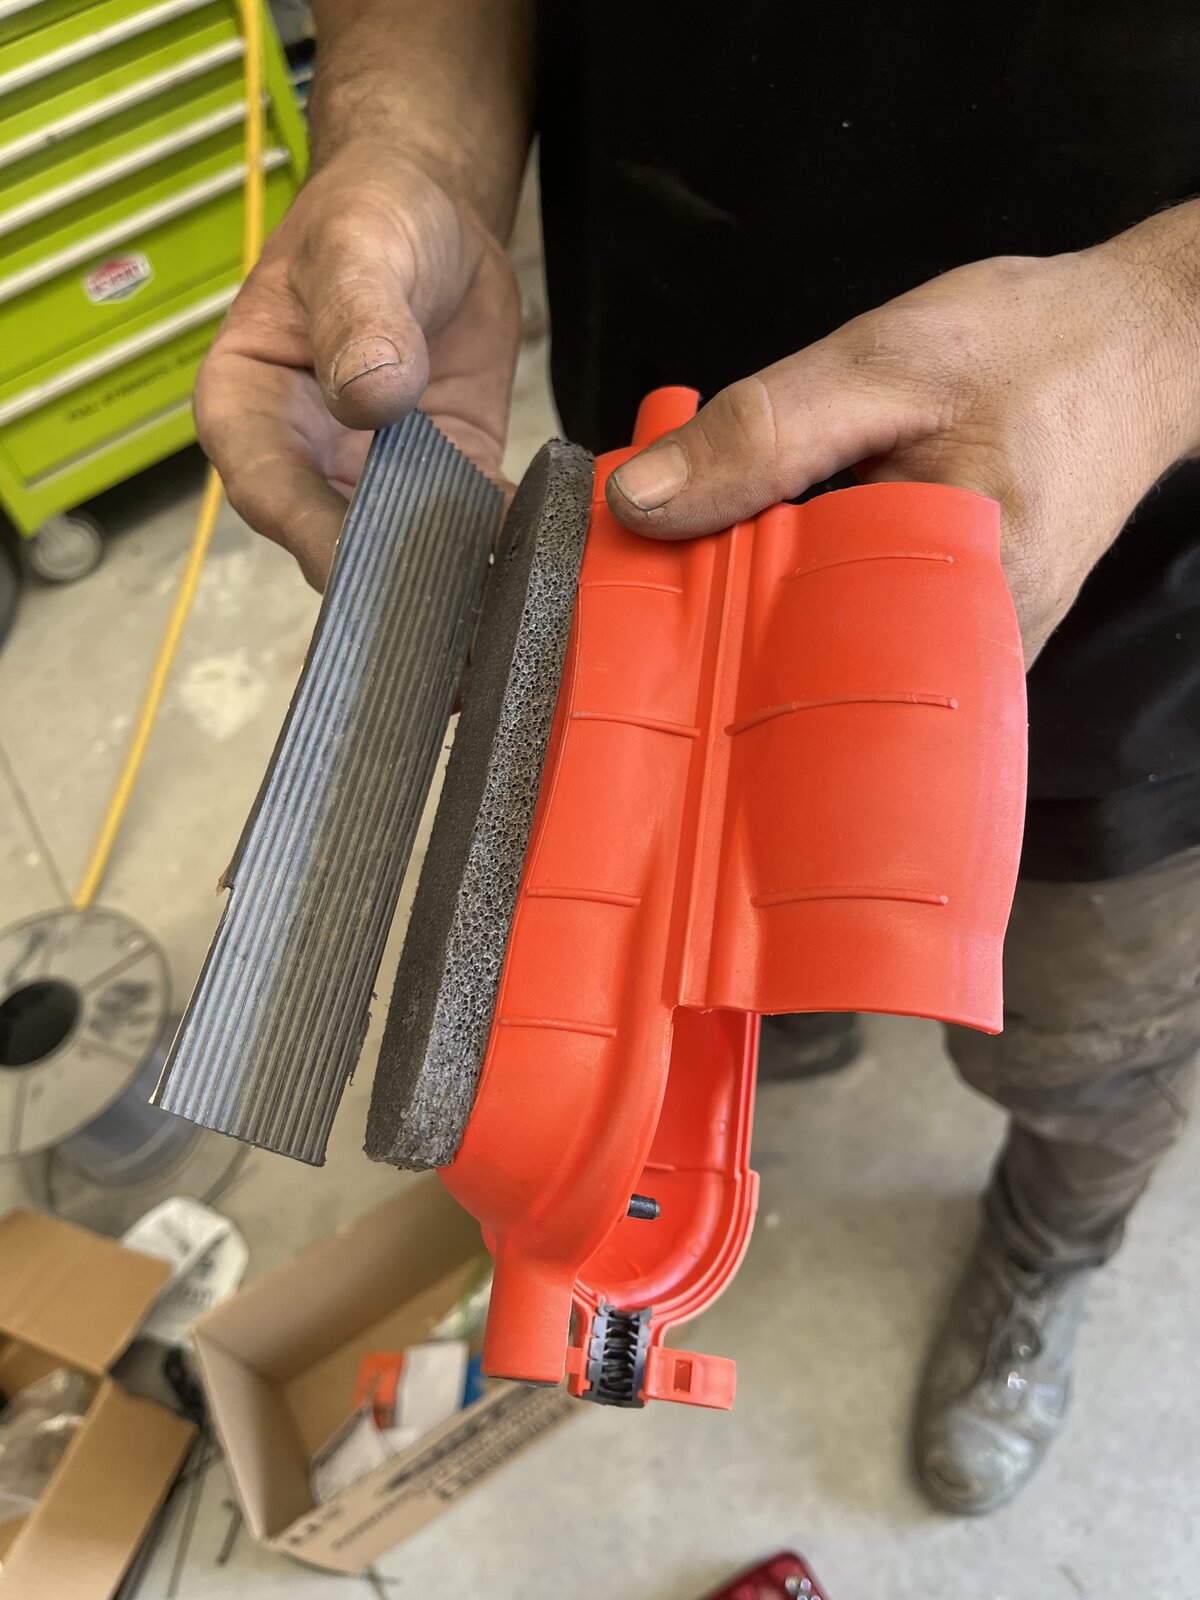
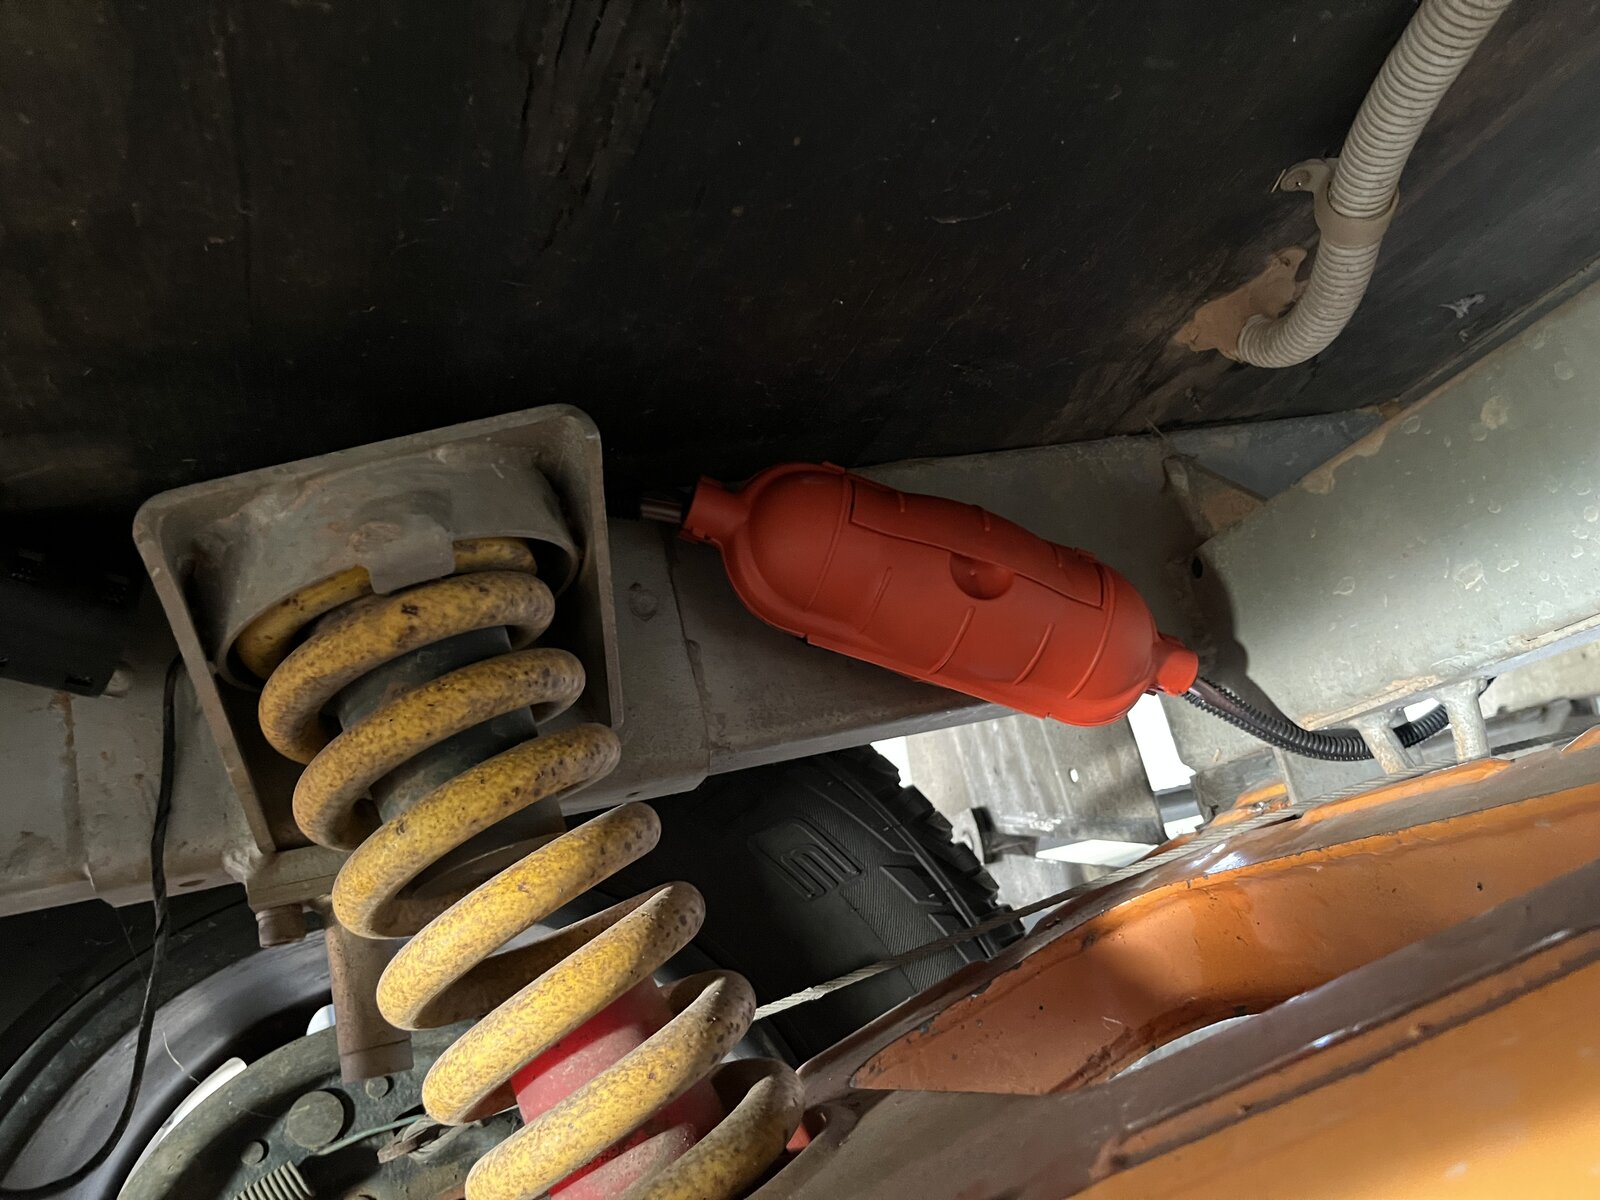
Per this installation video, the fuel pump noise can be dampened using a foam-lined box to enclose the pump. Several comments in the Diesel Heaters Australia Facebook Community suggest that this noise comes from the vibration of the pump against the chassis, so this enclosure was lined with foam and rubber on the chassis mount point and was stuffed with foam (from the packaging of the various parts) to prevent the pump from vibrating against the caravan walls. This worked quite well and although ticking can be heard in the video above under the chassis, it's impertceptible from inside the van when the heater is running.
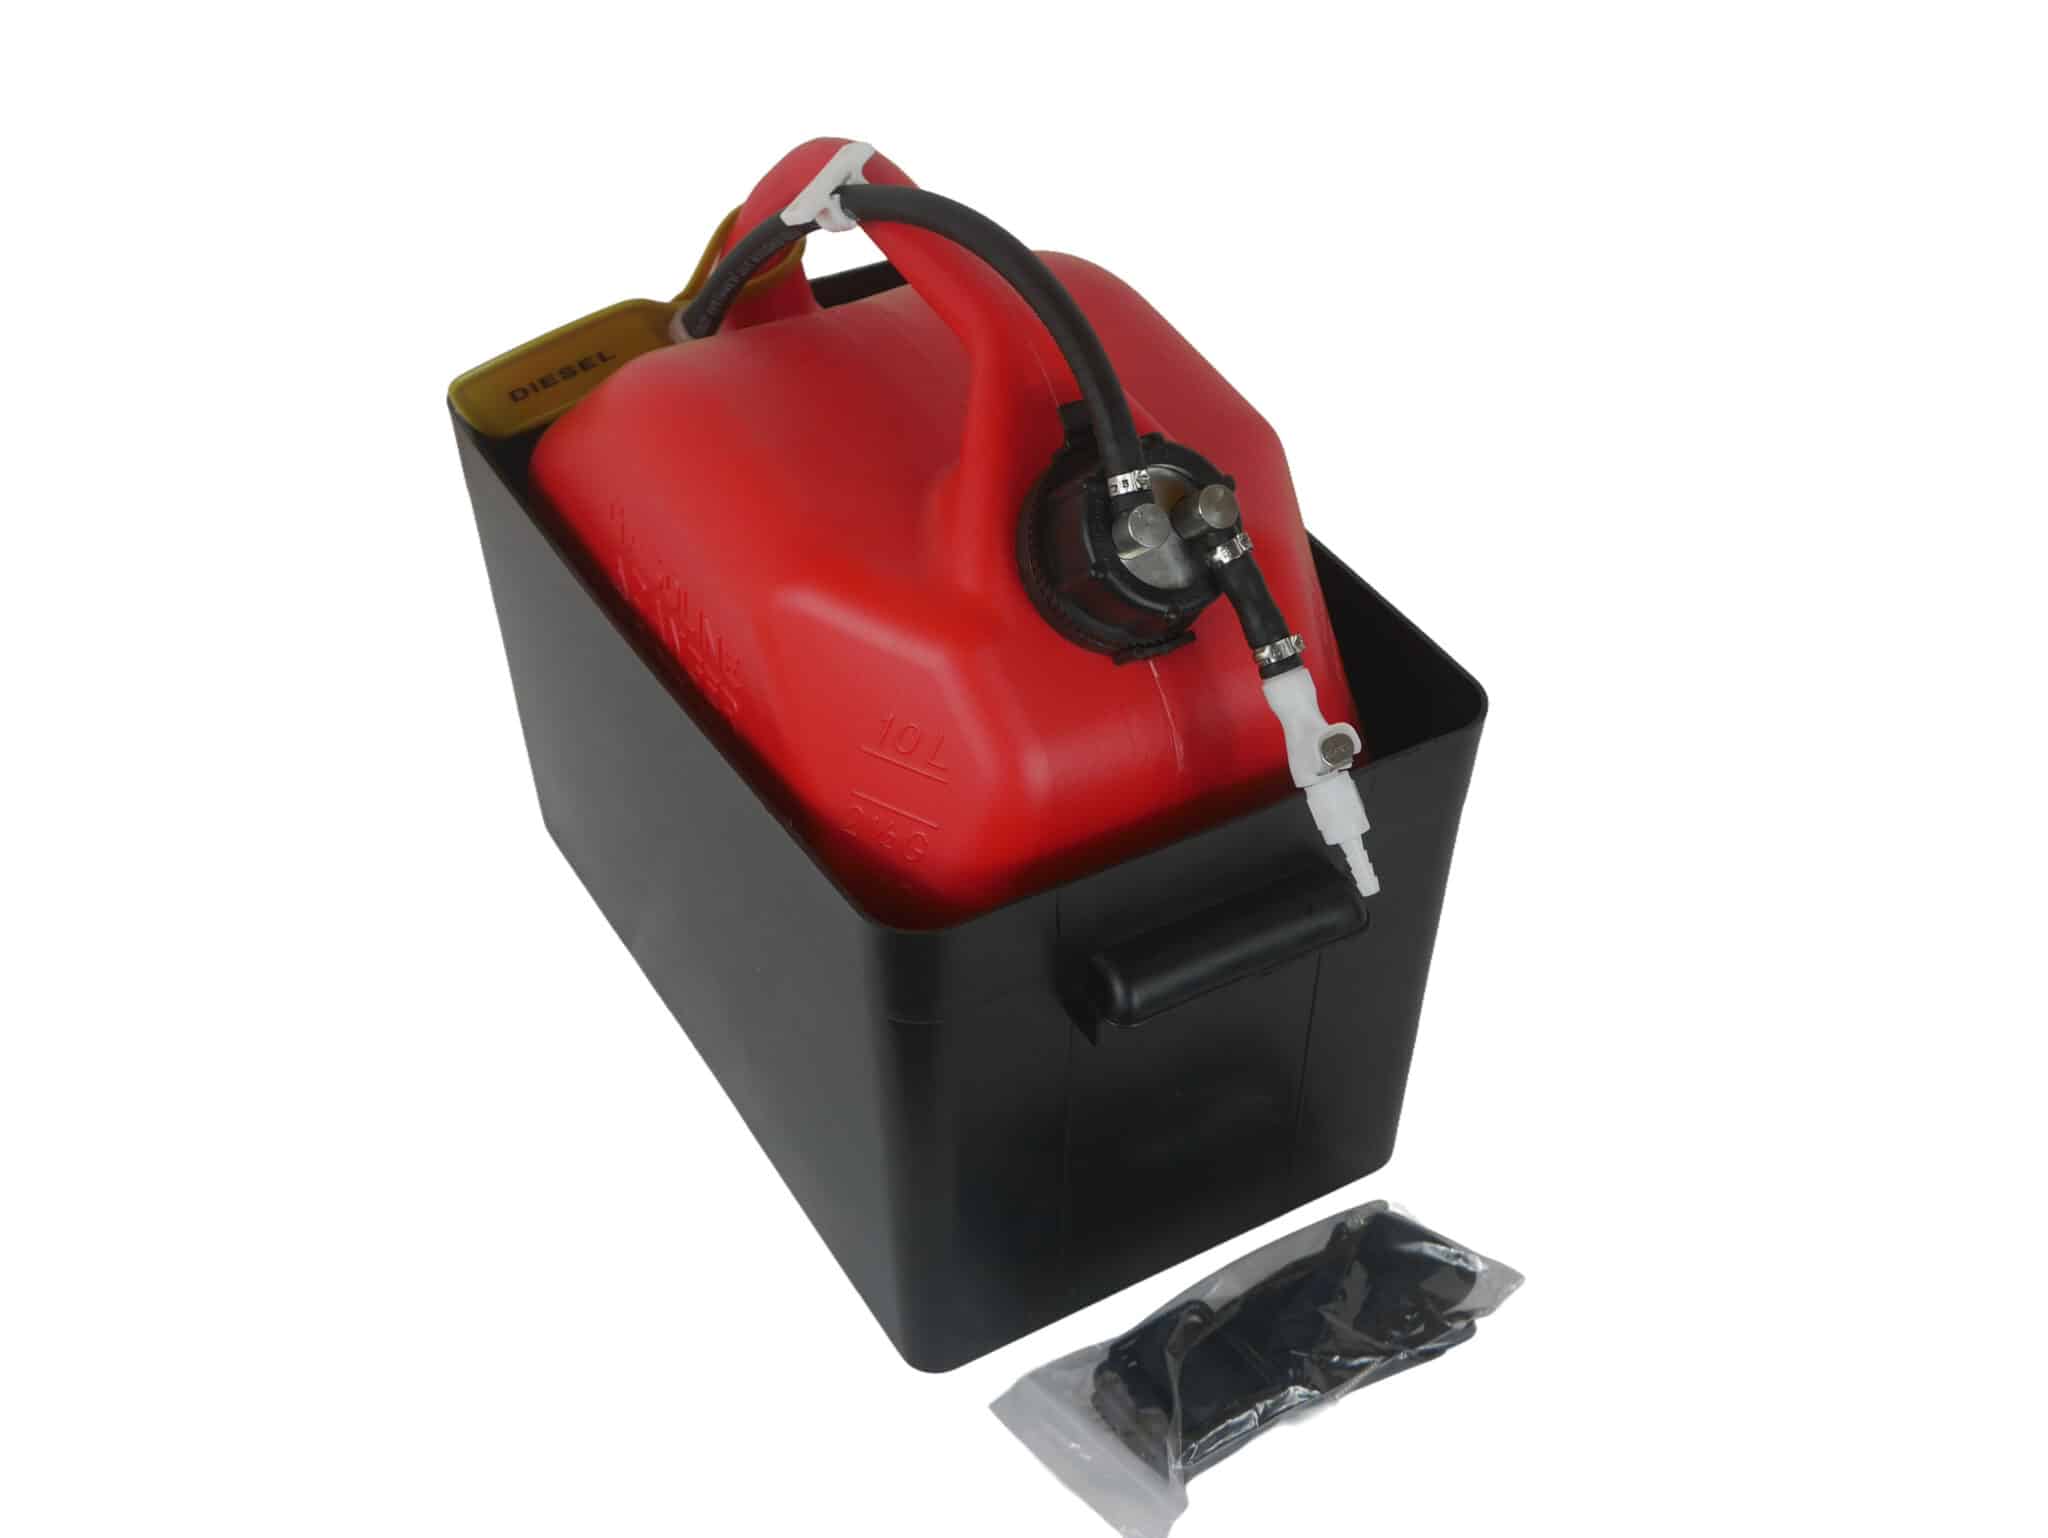
🤌 Upgraded Fuel Tank - 10L Easy Fit from Diesel Heat
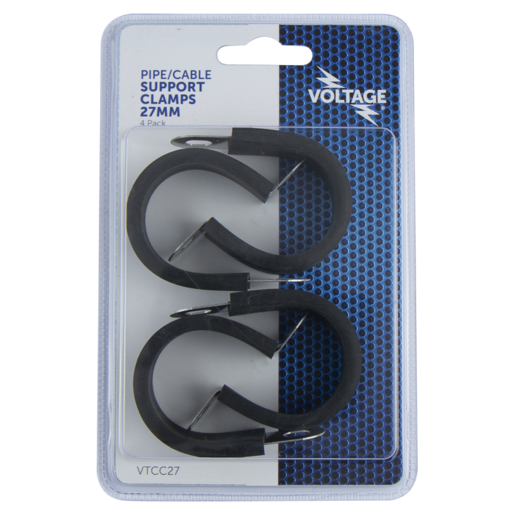
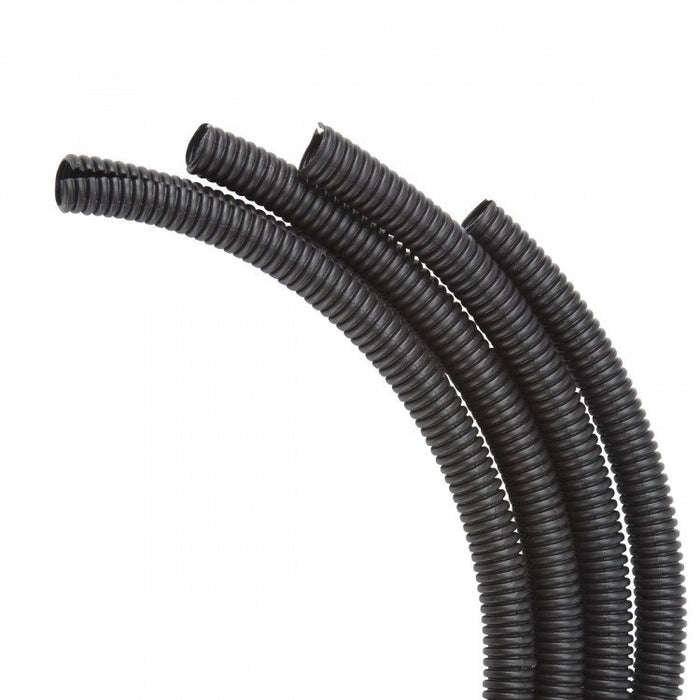
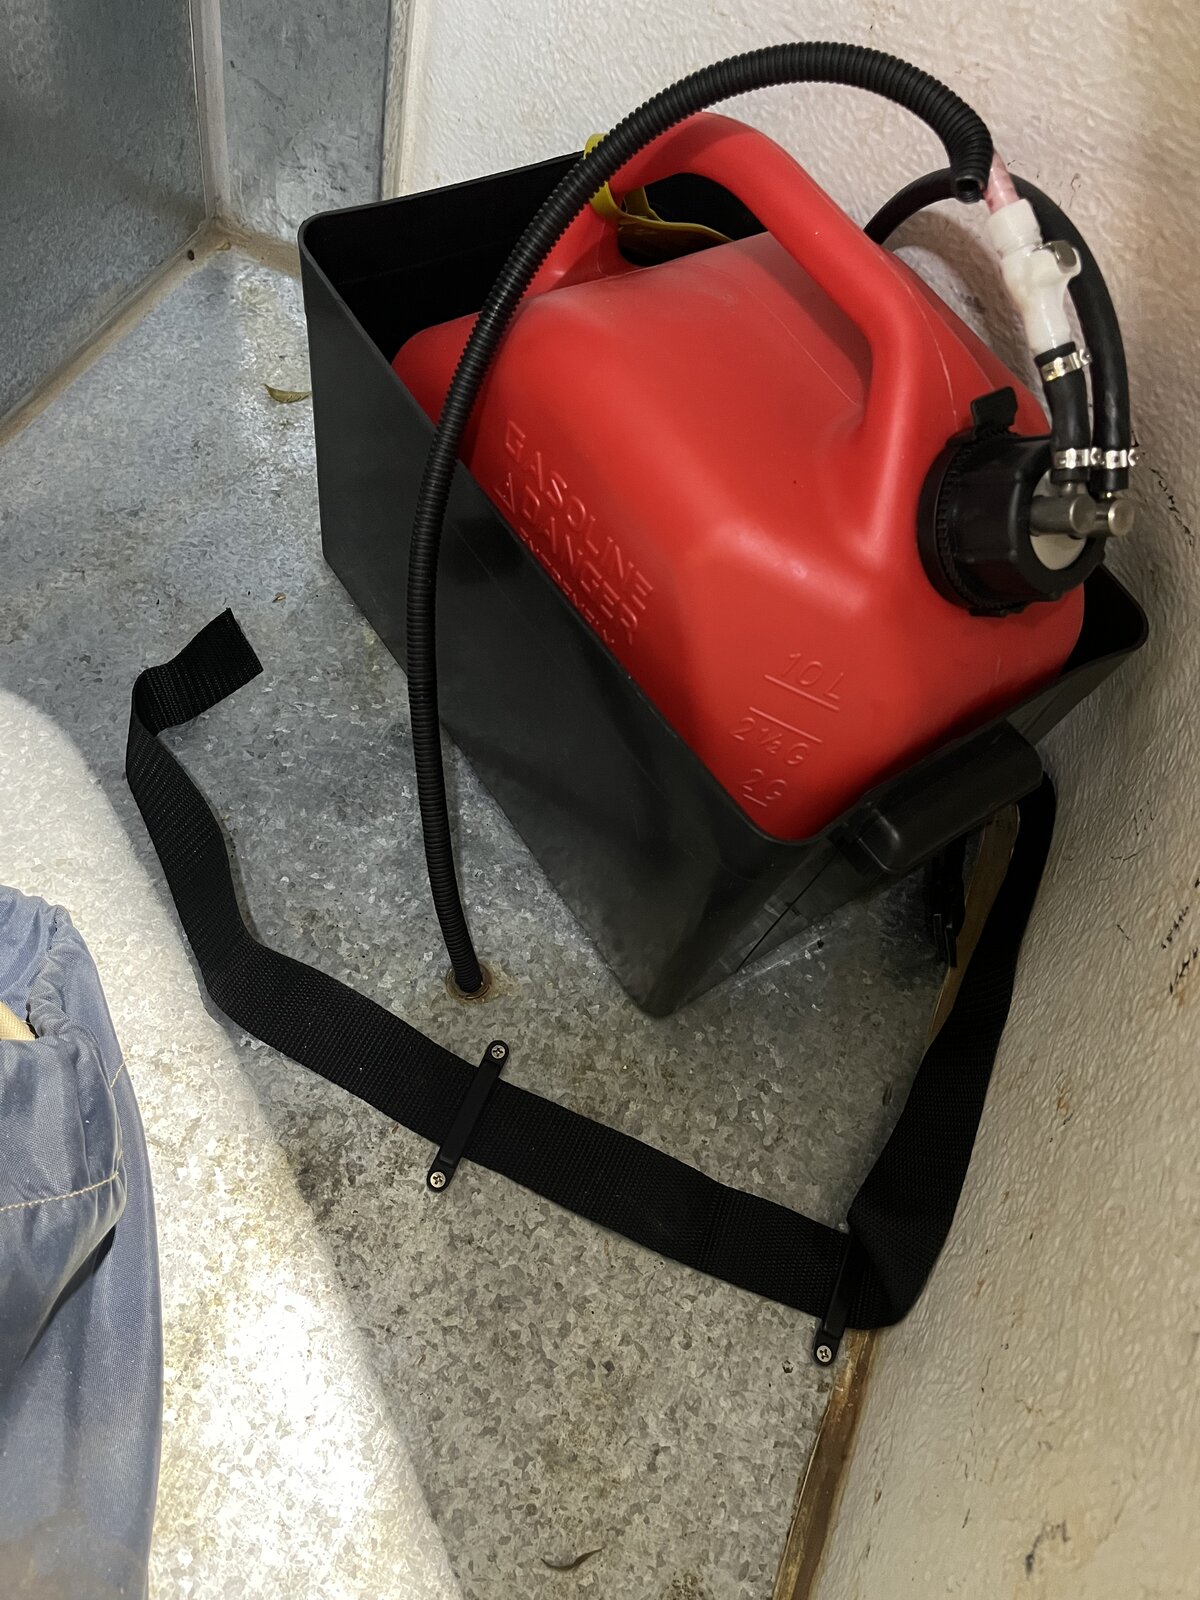
The fuel tank was upgraded from the standard VEVOR / AU Focus options to a 10L Easy Fit Fuel Tank for Diesel Air Heater. The Cruiseliner front storage boot had an existing drainage hole that the fuel line ran through and it was covered in conduit on either side. The diesel tub is secured to the floor using a strap that is anchored to the floor with screwed in clips.
- Diesel spills are contained within the battery case, preventing contamination of the tub when re-fueling
- Storing the tank inside the front boot shelters it from sun, rain and road grime, so it won't degrade with weather the way an externally chassis-mounted plastic tank will (unless you go for something stainless steel like the AU Focus fuel tank)
- This model has a quick-disconnect fuel line, so you can pop the tank out and take it to the servo to fill up, no need to hitch up and tow the whole caravan to a diesel pump
🤌 Upgraded exhaust from AU Focus
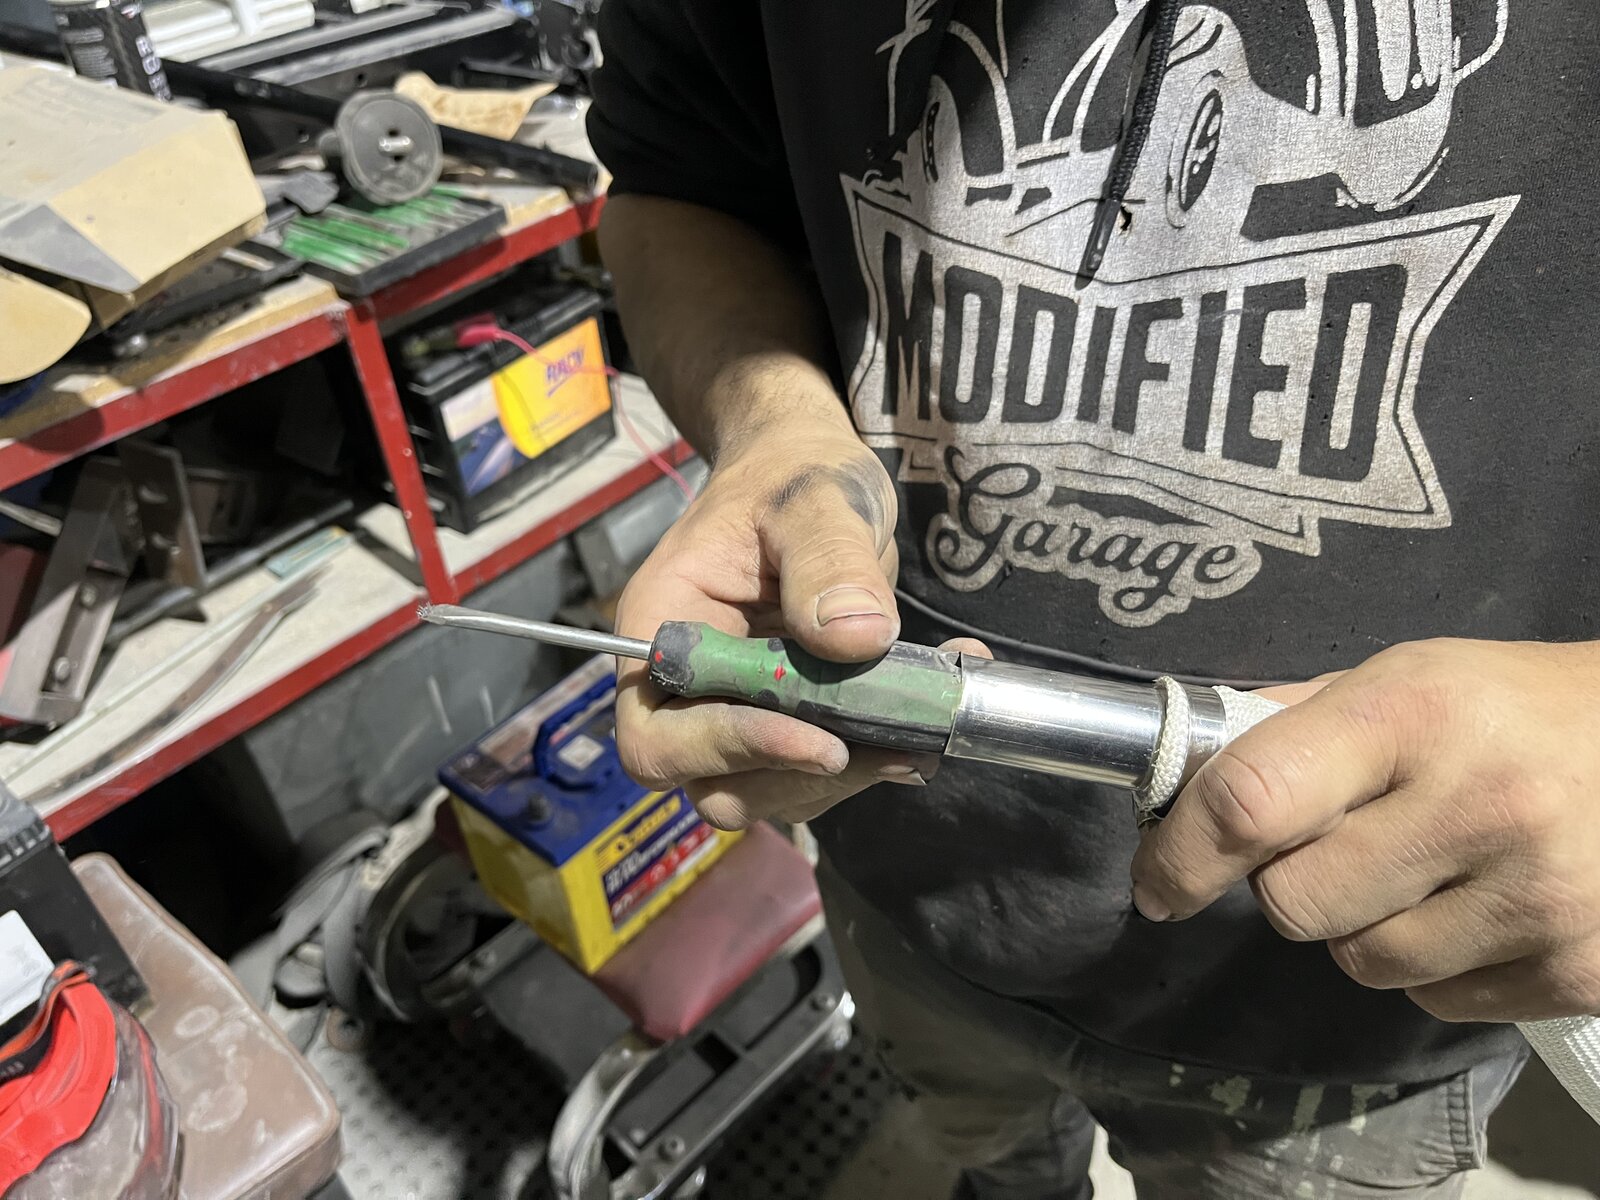
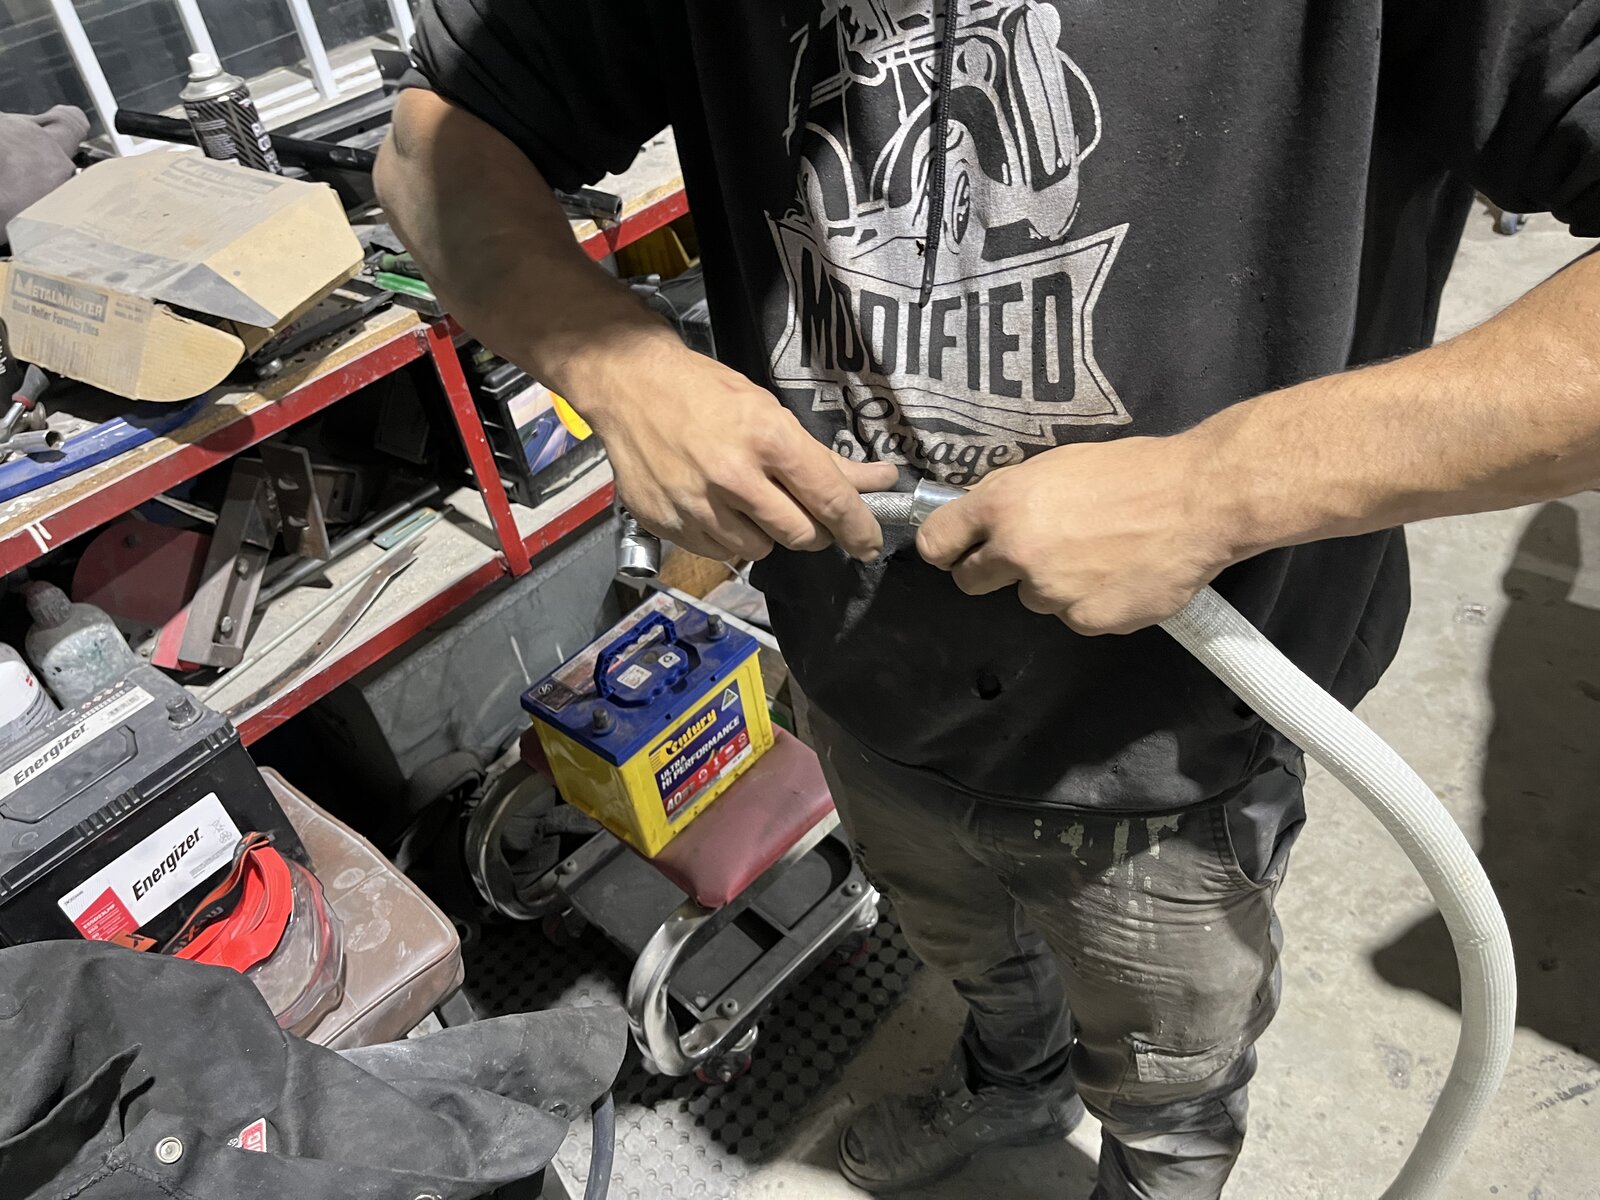
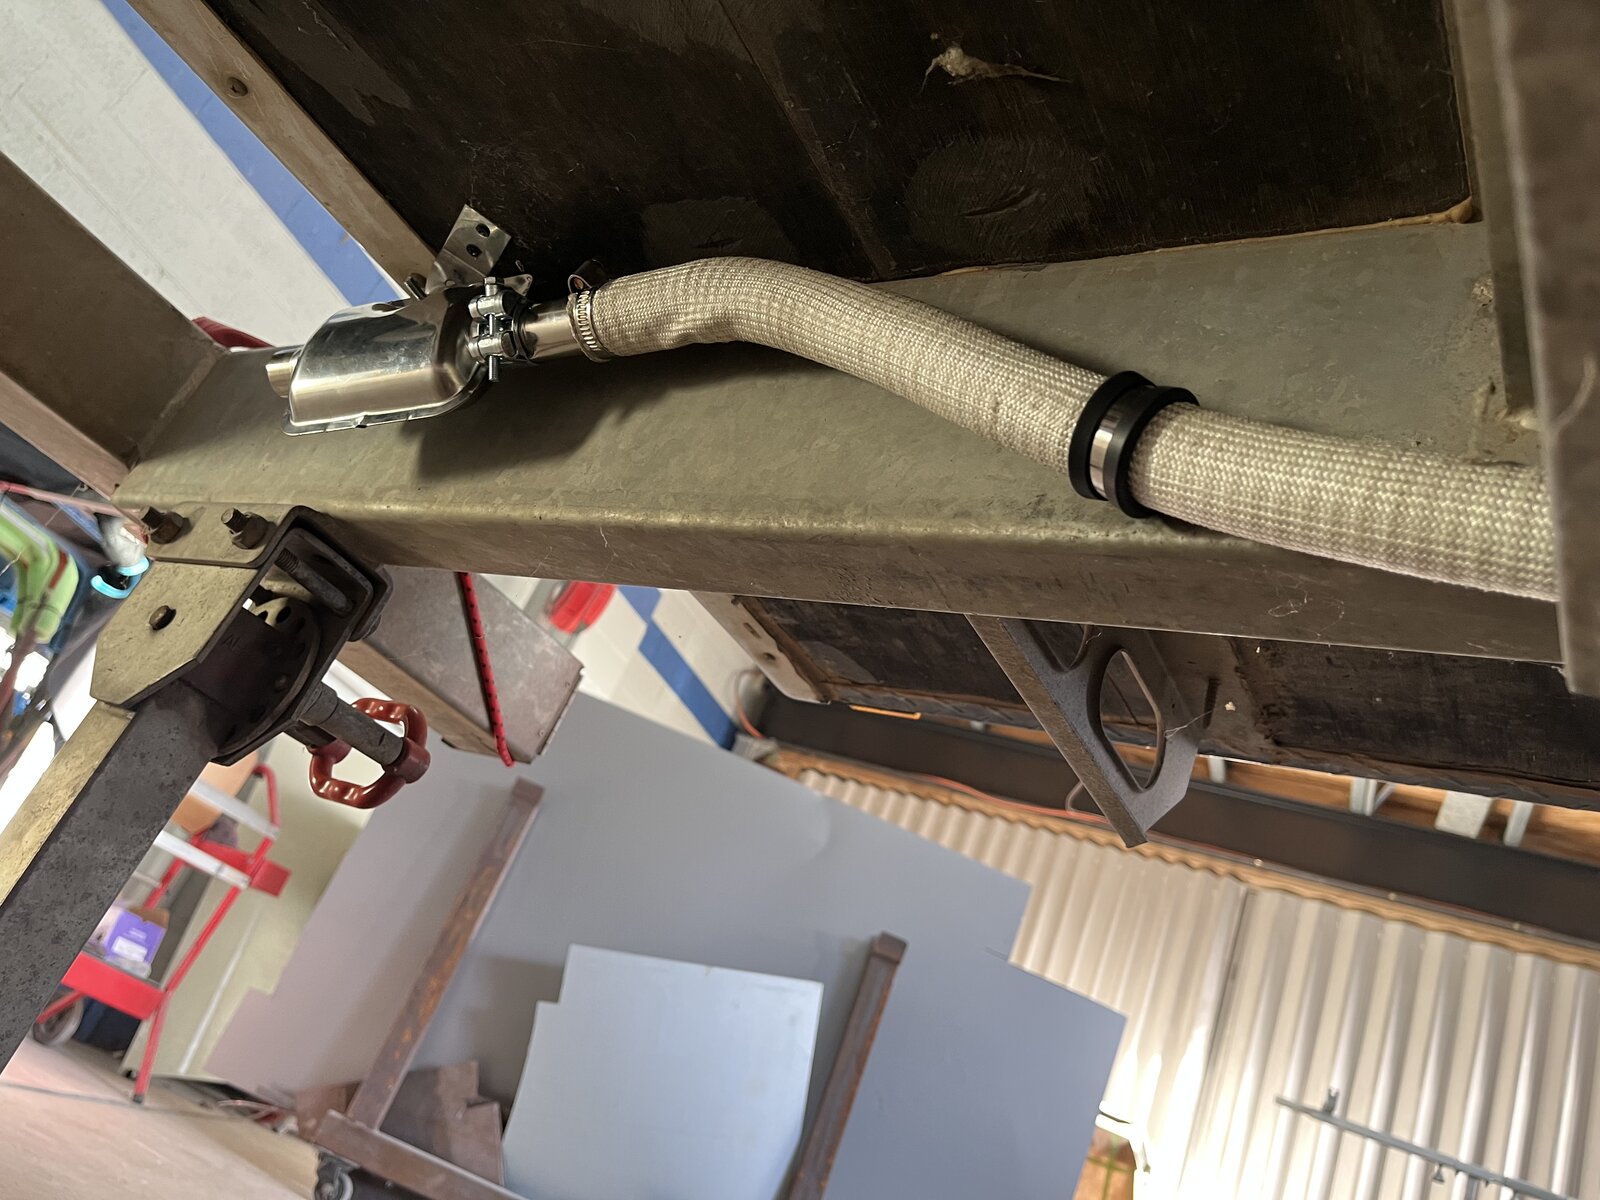
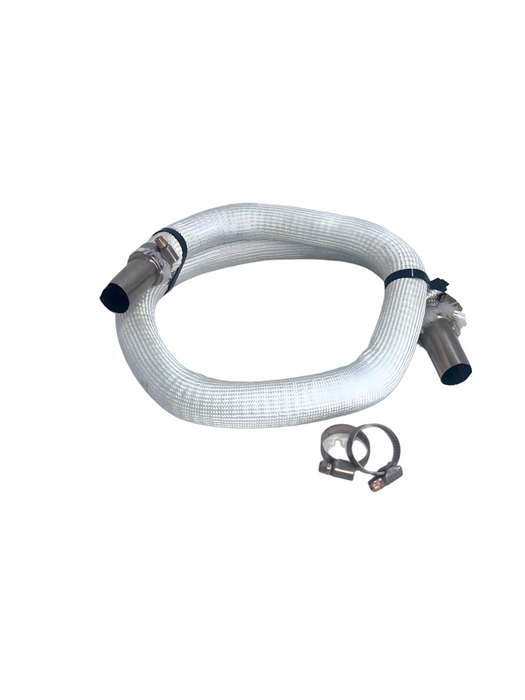
This installation used an upgraded AU Focus Exhaust Pipe 120 (1200mm) which came with much more suitable and sturdy clamps and better insulation compared to the VEVOR supplied exhaust. Per the photo, the end of the AU Focus exhuast didn't quite fit over the VEVOR heater exhaust outlet or muffler so it was widened using a screwdriver end. The Vevor exhaust was then used to extend from the muffler further out along the frame.